Tables are similar to spreadsheets; Use tables for data only. Tables aren’t meant to make page layouts, use other widgets to layout content, such as: text, 2 or 3 columns, Image with Text, or even tabs and accordion widgets.
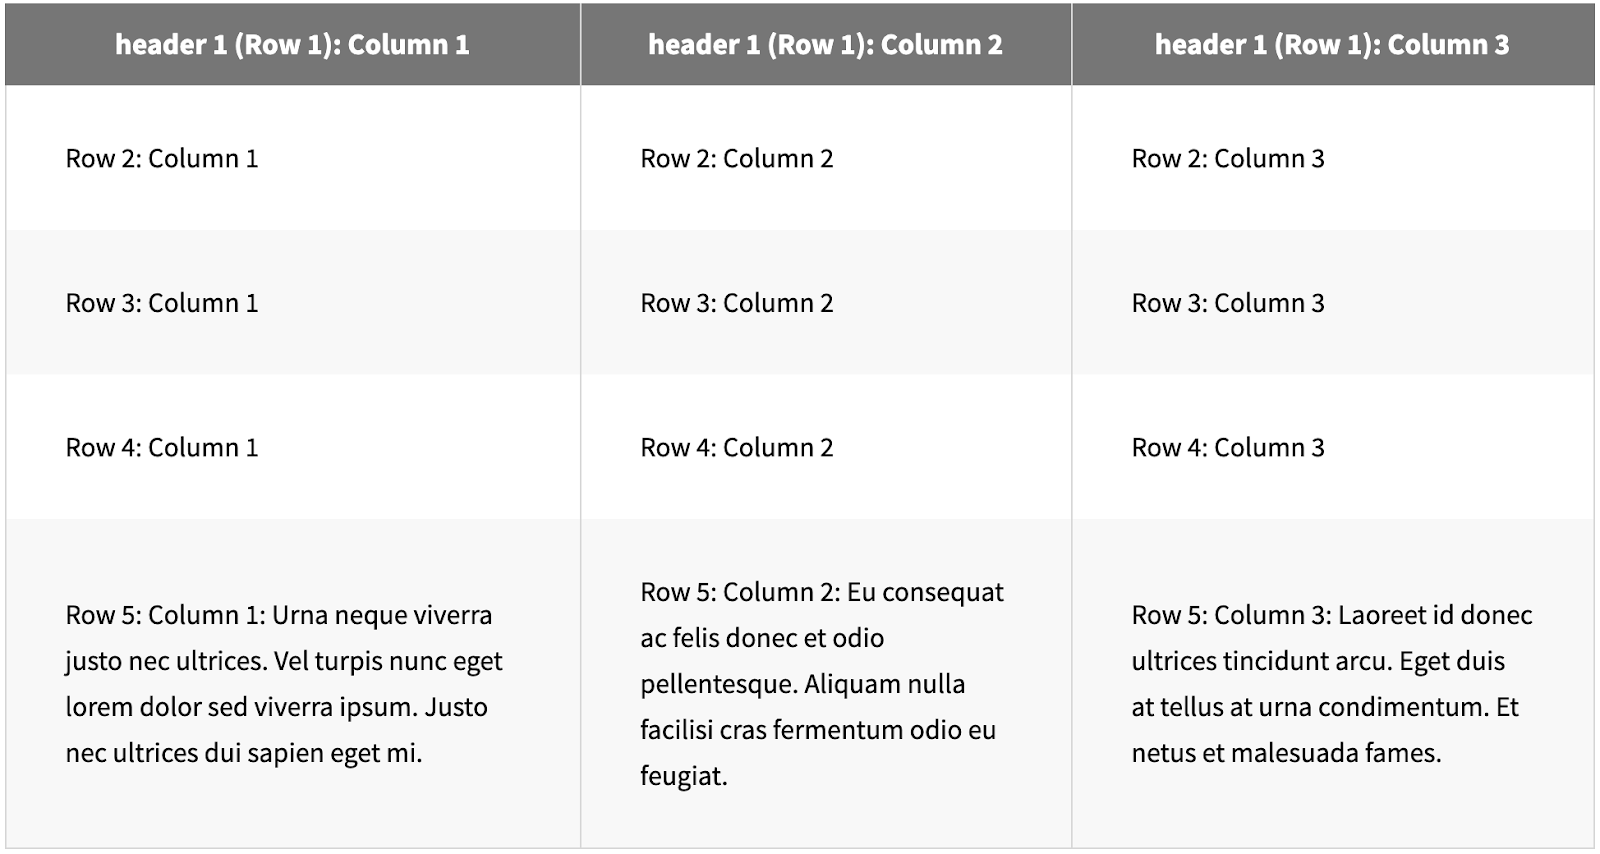
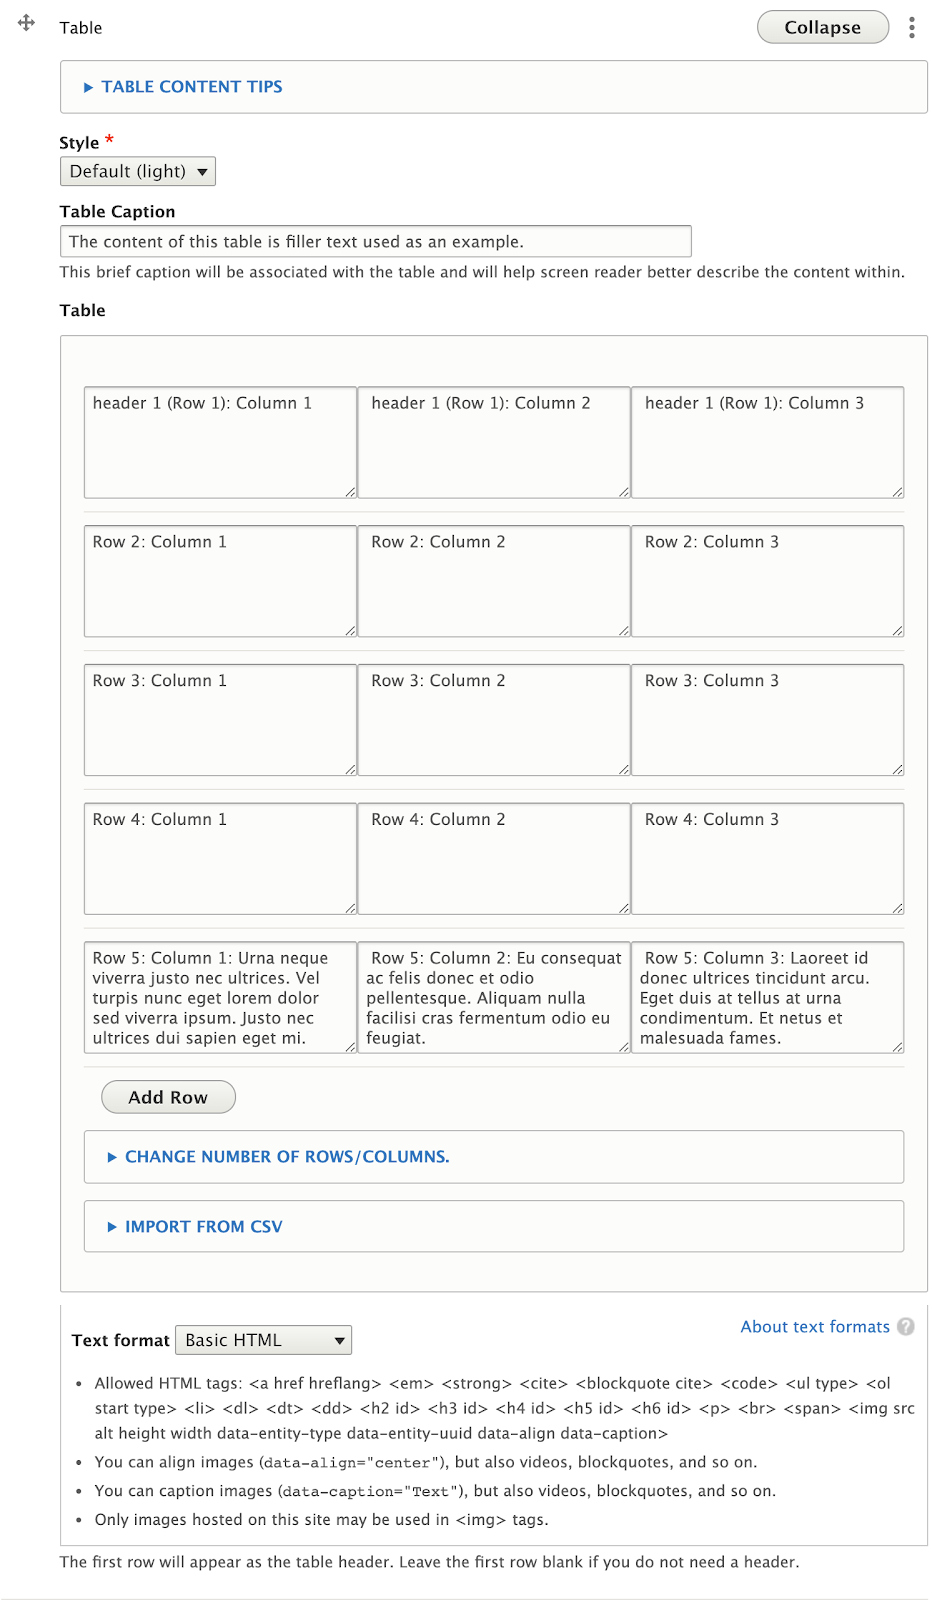
Tables are generated by default with 5 rows and 5 columns, the top row being the header row. Data can be added manually or automatically filled in from an uploaded .csv file. Cells expand horizontally based on the number of columns, and vertically based on the length of the content. Tables have an optimized view for smaller screens.
GoogleSheet files and Excel files can be exported as .csv for the purpose of uploading them to a Table Widget on your site.
Learn more about GoogleSheets from DIT
Learn more about Excel for Windows from DIT
Available Fields
- Table Caption: a caption to describe the content in the table, and is required for screen readers.
- Table: Contains rows of fields for entering data, layed out similarly to a spreadsheet. The first/top row is automatically formatted as the header row for column titles.
Adding or editing content in a Table Manually
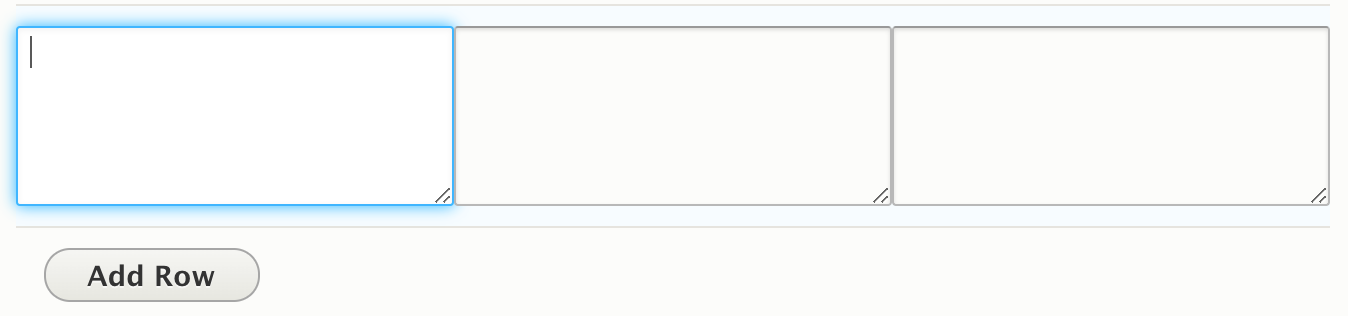
- Add Data: Type content into each cell in the table. Skipping a cell will leave that cell blank on the front-end (What the user sees) of the site.
- Add Rows: Click the “Add Rows” button below the last row to add a new empty row of cells.
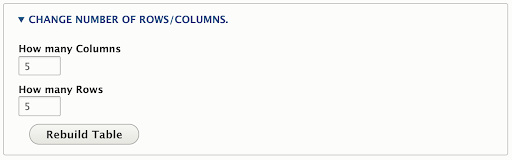
- Change Columns/Rows:
- Open the “Change number of Rows/Columns” options below the “Add Row” button.
- Enter the number of desired Columns under the “How many Columns” field
- Enter the number of desired Rows under the “How many Rows” field
- Click the “Rebuild Table” button to regenerate the table of columns and rows above these options based on the entered values.
- Warning: This can potentially delete content. If you are reducing the number of columns or rows, this feature will overwrite/delete any content that is not already within the scope of column or rows being created, and cannot be undone. (ie: if you have data in column 4, and you are reducing the table to 3 columns, that data is column 4 will be deleted).
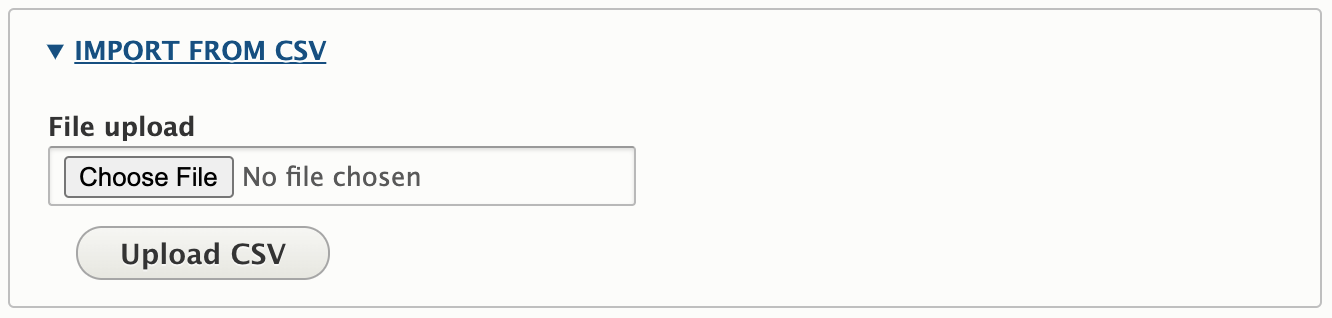
Adding content to a Table from CSV (Comma Separated Values)
- Open options: Open the Import from CSV Options below the “Change number of Rows/Columns” options.
- Browse computer files: Click “Choose File” under “File upload” to upload a csv file from your computer.
- Select the csv file: Locate the csv file you wish to upload using your computer’s file browser. The file must be a correctly formatted CSV file, and end in .csv
- Click the “Upload CSV” button, to regenerate the table of columns and rows above these options based on the data in the selected csv file.
- Warning: This method can potentially delete content. Uploading a csv file will completely replace any content already entered in the table cells. This method also overwrites the number of columns or rows to match those in the csv file.
Recommendations
- Use tables for data only. Tables aren’t meant to make page layouts.
- Use no more than 4 columns. More than 4 will constrict the table content significantly.
- Keep table headers brief.
- Add a caption to describe the content in the table.
Front-end View (What it looks like)
Back-end View (What the editor sees)