Text widgets are the most fundamental part of the UMD Terp templates, and can be found in a number of the other widgets listed below. The UMD Terp Person, UMD Terp Article, UMD Terp Event, and UMD Terp Basic Page layouts include this section by default as a “bio” or “body” text area at the top of the layout.
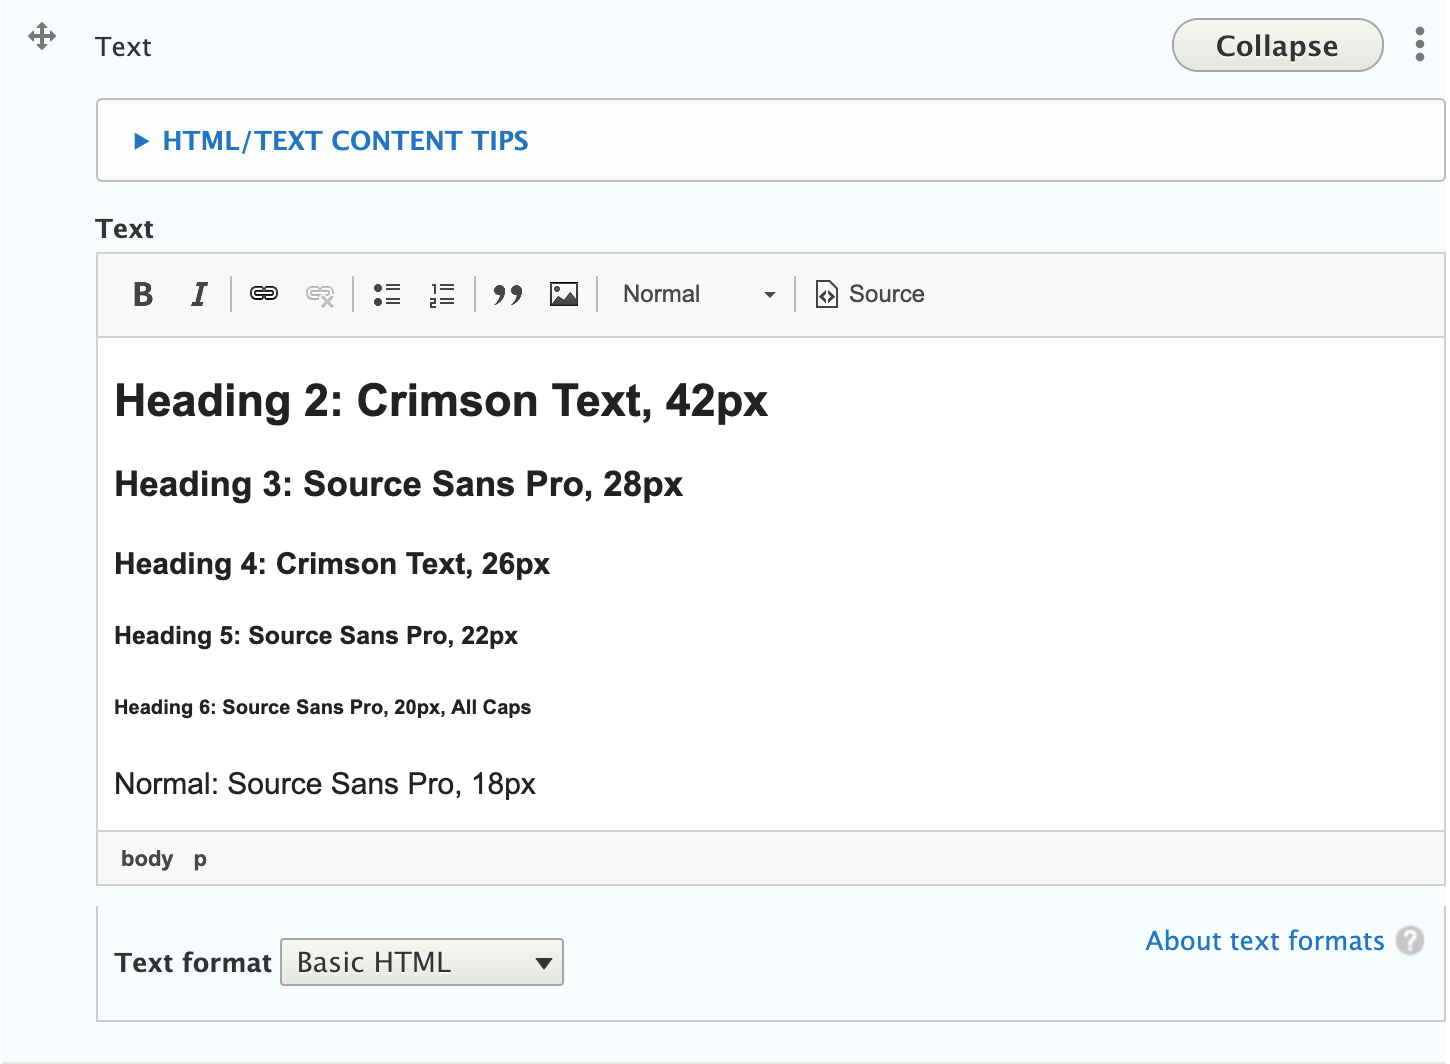
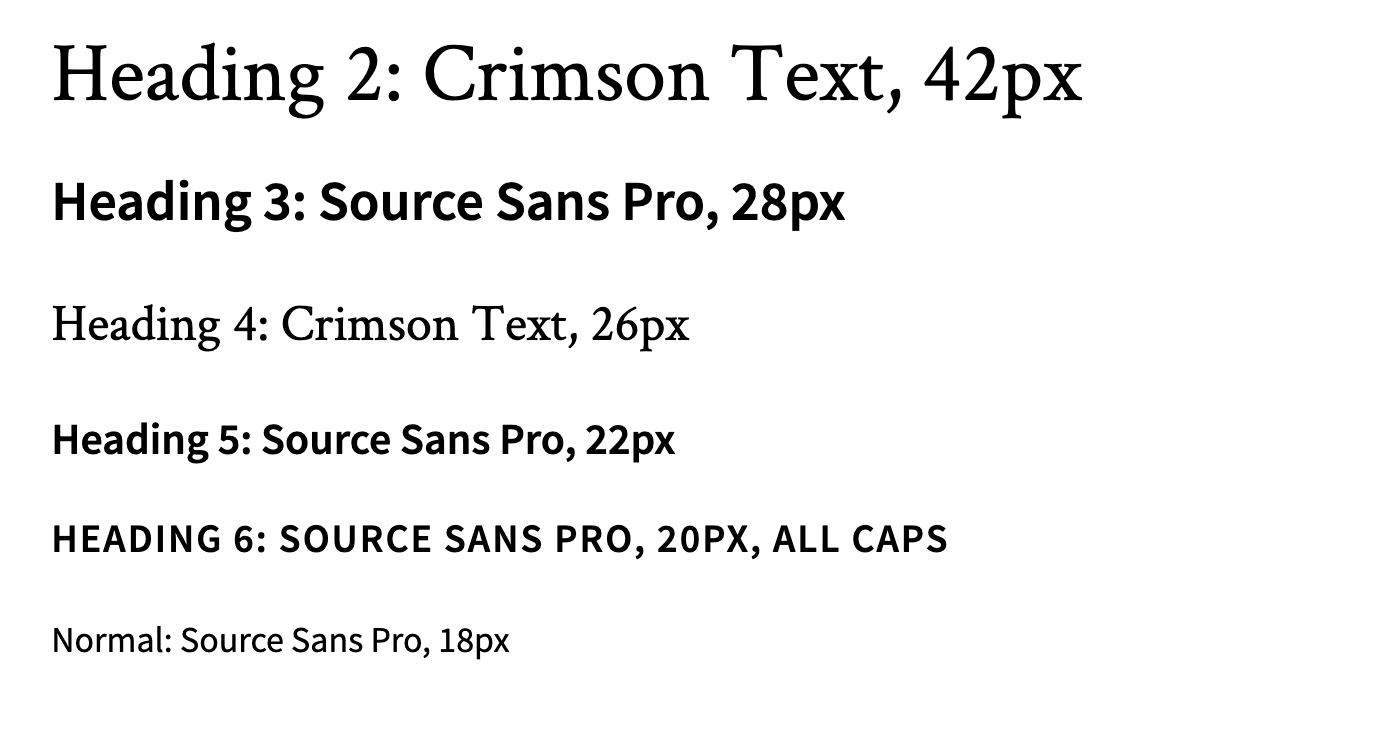
Text widgets support a number of formats by default including Normal text, Heading styles 2 through 6, Links, Bold, Italics, Numbered lists, Bulleted lists, Blockquotes, and inline Images. These formatting options are available from the toolbar directly above the text area. Features and formatting described here related to editing content with "Basic HTML". Editing text in Full HTML is described under Advanced Editing, and is only recommended for editors with knowledge of Drupal, the UMD Terp templates, and a minimal amount of coding experience.
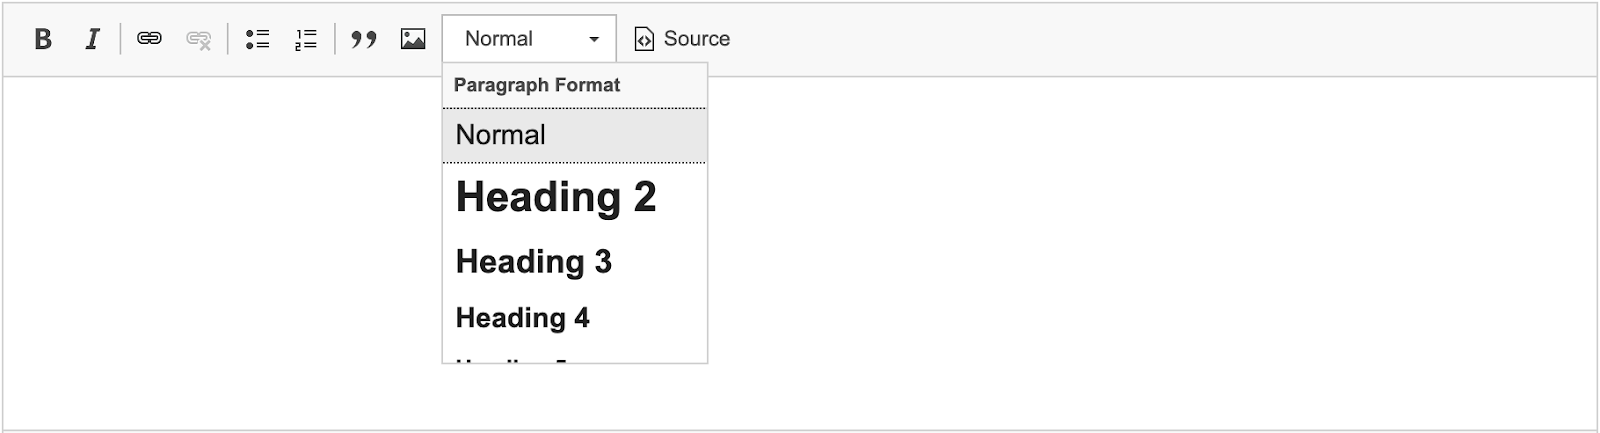
Accessible Heading Order
For accessibility compliance, use Headings in numerical order, as if creating a list outline, and without skipping any. “Normal” text is the exception, and can appear anywhere in that order. Skipping a heading for any reason (ie, using a Heading 1, followed by a Heading 3, Skipping Heading 2), can cause confusion, especially for someone who relies on a screen reader to browse a site, where that individual might think they missed some piece of content. Learn more about accessibility compliance of headings, and general accessibility compliance at the Web Accessibility Initiative.
| Accessibility Assessment | Example Text |
|---|---|
| Passes Assessment | Heading 2Heading 3Heading 3 AgainHeading 4Heading 5Heading 2 AgainHeading 3Heading 3 Again |
| Fails Assessment | Heading 2Heading 5 (Fails because Headings 3 and 4 were skipped)Heading 2 AgainHeading 4 (Fails because Heading 3 was skipped)Heading 5Heading 5 Again |
Add an inline link
First, consider a better alternative
Consider using the Link Set, Button Set, or Card Group widgets if you want to add a single link as a stand alone item or are linking to a number of pages or sites at once (ie: a list of resources). The link tool in text widgets is meant for linking to pages or sites from within a body of text, however it does not offer the same the option to open links in a new window, or the ability to lookup/link to pages by searching the page name.
Steps:
- Within the text area, select the text you want to turn into a link.
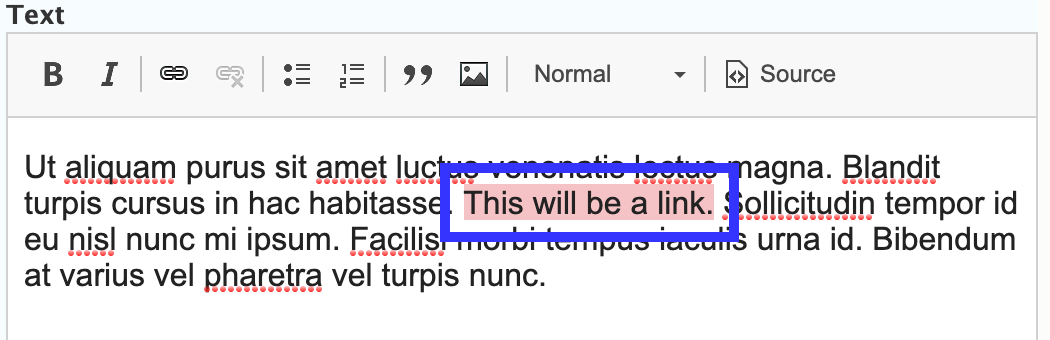
- Click the “Link” tool in the toolbar. The Link tool’s icon loosely resembles a link in a chain.

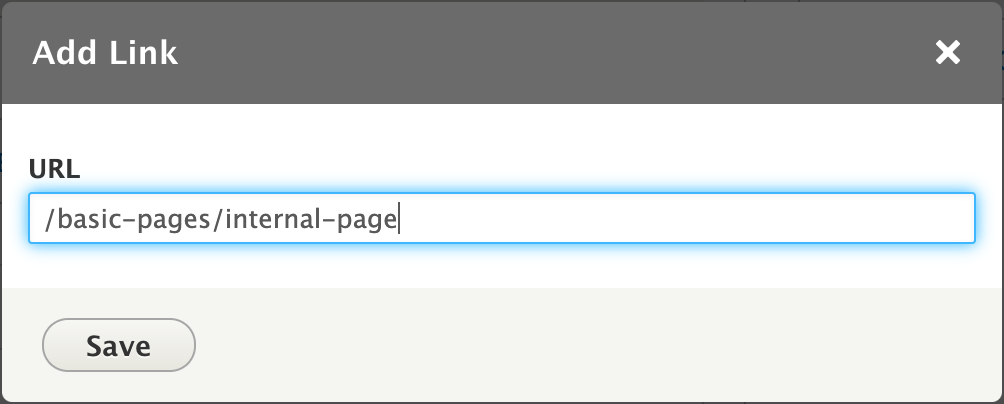
- In the “Add Link” alert that appears, Enter the web address of the page or the site you want to link to in the URL field.
- Link to page: When linking to a page on the same site include the entire url (web address) after “umd.edu” (eg: If you are trying linking to “drupal8.umd.edu/basic-pages/internal-page” from “drupal8.umd.edu/kitchen-sink”, enter “/basic-pages/internal-page” as the link, including the leading slash “/”).
- Link to Different site: Be sure to include “https://” at the beginning of a link that points to a different website (eg: If you are trying linking to “umd.edu/policies” from from your site, enter “https://umd.edu/policies” as the link).
Example: linking to another page on the same site
- Click the “Save” button at the bottom of the “Add Link” alert.
- Address accessibility concerns: Keep links short but descriptive, and avoid using generic language like “Read more”, “Click Here”, or “View Page”.
Add an inline Image
First, consider a better alternative:
Consider using any of the Image based widgets, like Image with Text, especially if you plan to align an image to the right or left of a block of text. While this inline image tool is available, it does not support the ability to add images used previously, or to save images for reuse later.
Steps:
- Within the text area, Place the cursor where you want the image to appear.
- Click the “Image” tool in the toolbar. The Image tool’s icon loosely resembles a little picture of mountains with a sun/moon above them.

- In the “Insert Image” alert that appears, fill in the necessary fields.
- Image: Click “Choose File” under “Image *” to upload a file from your computer.
- Locate the image you want to upload using your computer’s file browser.
- Follow the same guidance for the type of image to upload as described in the Adding Images and other media section.
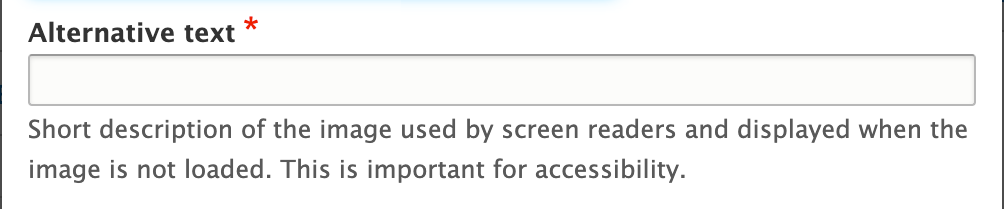
- Alternative Text: Add “Alternative Text” that accurately describes the content of the image.
- Limit text to 125 characters or less.
- Include some of your site’s keywords for SEO value, but avoid “keyword stuffing” (i.e. adding terms that are valuable but not relevant to the image).
- Do not use the phrases “image of” or “picture of.”
- Align: Decide how the image will align in relation to the text around it.
- None: The image will align left, but text will not wrap around the image, even if the image does not take up the full width of the container.
- Left: The image will align to the left side of the text area, and any text that was under where the image was placed will instead appear to the right side of the image and wrap around below it.
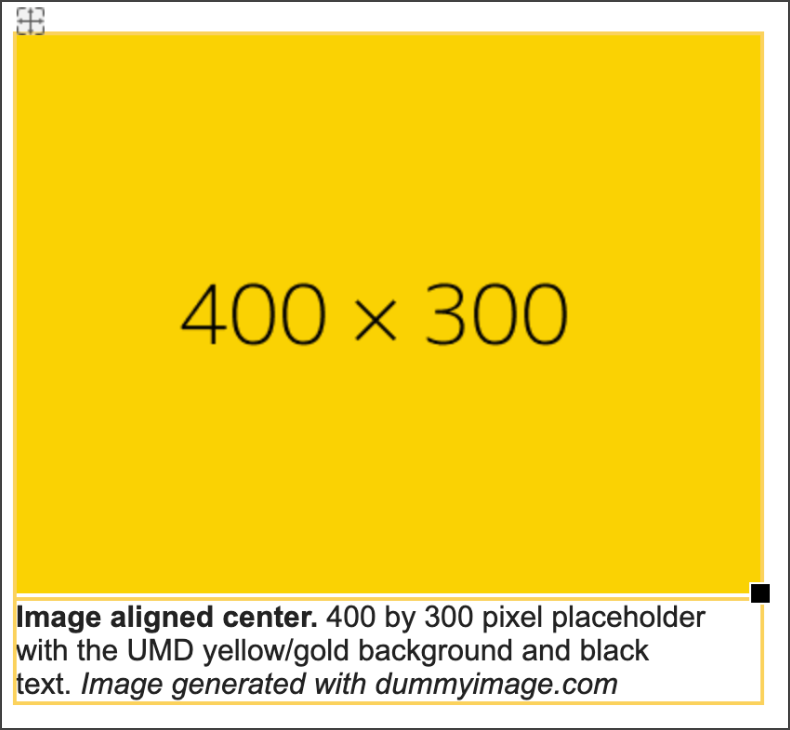
- Center: The image will appear centered within the text area, text will appear above and below it.
- Right: The image will align to the right side of the text area, and any text that was under where the image was placed will instead appear to the left side of the image and wrap around below it.

- Caption Option: Check the Caption option to provide space below the image to convey an image’s source, attribution, or reasons for inclusion on the page. Text for the caption can only be added after the image is added.
- Image: Click “Choose File” under “Image *” to upload a file from your computer.
- Click the “Save” button at the bottom of the “Insert Image” Alert to insert the image into the text area, closing the alert.
- Edit options after the image is added
- Caption: If the Caption option was selected, enter a caption in the space below the image.
- Move: Images can be moved around using the crossed arrows icon that appears at the top left corner of the image.
- Size: Images can be resized using the small solid square at the bottom right corner of the image.
Recommendations
Do
- Make use of headings to organize content. If a page has a clear hierarchy of content, use different heading styles to indicate importance. For example, a news story can be broken up by using an H2 for large sections, and then H3/H4 headings for details within each section.
- Copy and paste text without formatting. All text on the site should use the website font styling, and should not be modified in any way besides using bold text, underlining or italics. Consider using a “plain text” editor like TextEdit on the Mac, NotePad on a Windows machine, or an app like Visual Studio for mac or windows to remove any formatting that could cause issues (custom fonts, colors, sizing, styles etc) before pasting that text into your site.
- Optimize images before embedding them. Large images slow down sites, which does not make your users happy. Save your image to the recommended pixel dimensions and file size before uploading.
- Consider adding media via other widgets. Learn about Image based widgets included in these templates.
- Include captions with images. Users read captions, sometimes before they even read the body copy. Captions are also great for accessibility because it can be read by screen readers and provides context.
Don’t
- Overuse images. Images and video/etc are better served via some of the other widgets.
- Use headings just for styling purposes. Headings are meant to help organize content for readers, which is especially important for the visually impaired who may use screen readers. Don’t use a heading just because it has a size, color, or style that looks nice. This may confuse readers.
- Use headings that take up an entire paragraph of text. Headings are meant to be a summary of what you’re going to read. Using a heading for long chunks of text dilutes your message.
- Copy and paste directly from Word or another website. This can carry over colors, type sizes and styles that you don’t want, or might cause issues, as well as accessibility concerns. Learn more about brand guidelines at brand.umd.edu.
Front-end View (What it looks like)
Back-end View (What the editor sees)