
Let’s Get Started
Use the following information to assist in the set-up and configuration your UMD Terp themed site.
Sections
Setup
When creating a new site using the UMD Terp templates, the site is initially set up with some very basic components with example content for you to replace with your own, or throw away and start from scratch. The goal is to give you a recommended starting point and set you up for success in creating a positive and unified experience for our greater university community.
If this is your first time creating a website for the university, we recommend browsing the rest of the UMD Drupal Demo site, including Finding inspiration from existing sites, and reading DIT’s articles on Getting Started with Drupal Hosting.

UMD Drupal Theme Guidelines
Use these guidelines to discover all the features available in the template, including content types, layout widgets and dynamic feeds.

Find Inspiration
A collection of sites created using the University of Maryland's Drupal Templates.
Getting Started with Drupal Hosting
The Division of Information Technology (DIT) recommends starting with an existing site before migrating into DIT Drupal Hosting environment.
Signing in for the first time
During the initial Setup, a user should have been created for you using your CAS username by the members of the Office of Strategic Communications (OSC) or Division of Information Technology (DIT). Follow the instructions available on the Drupal Template guidelines for logging into your brand new Drupal Site. The same instructions are outlined below.
Login and access your Drupal site
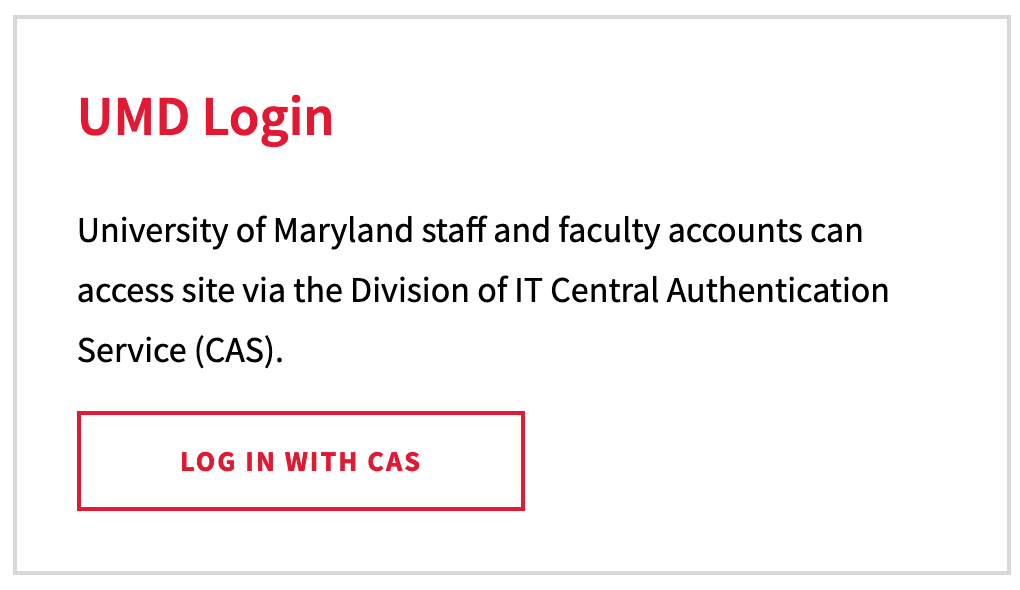
- Login to your Drupal site from [site’s subdomain].umd.edu/user
- If the site address is mySite1856.umd.edu, the login page is found at: mySite1856.umd.edu/user.
Follow the process to login with your university CAS credentials.
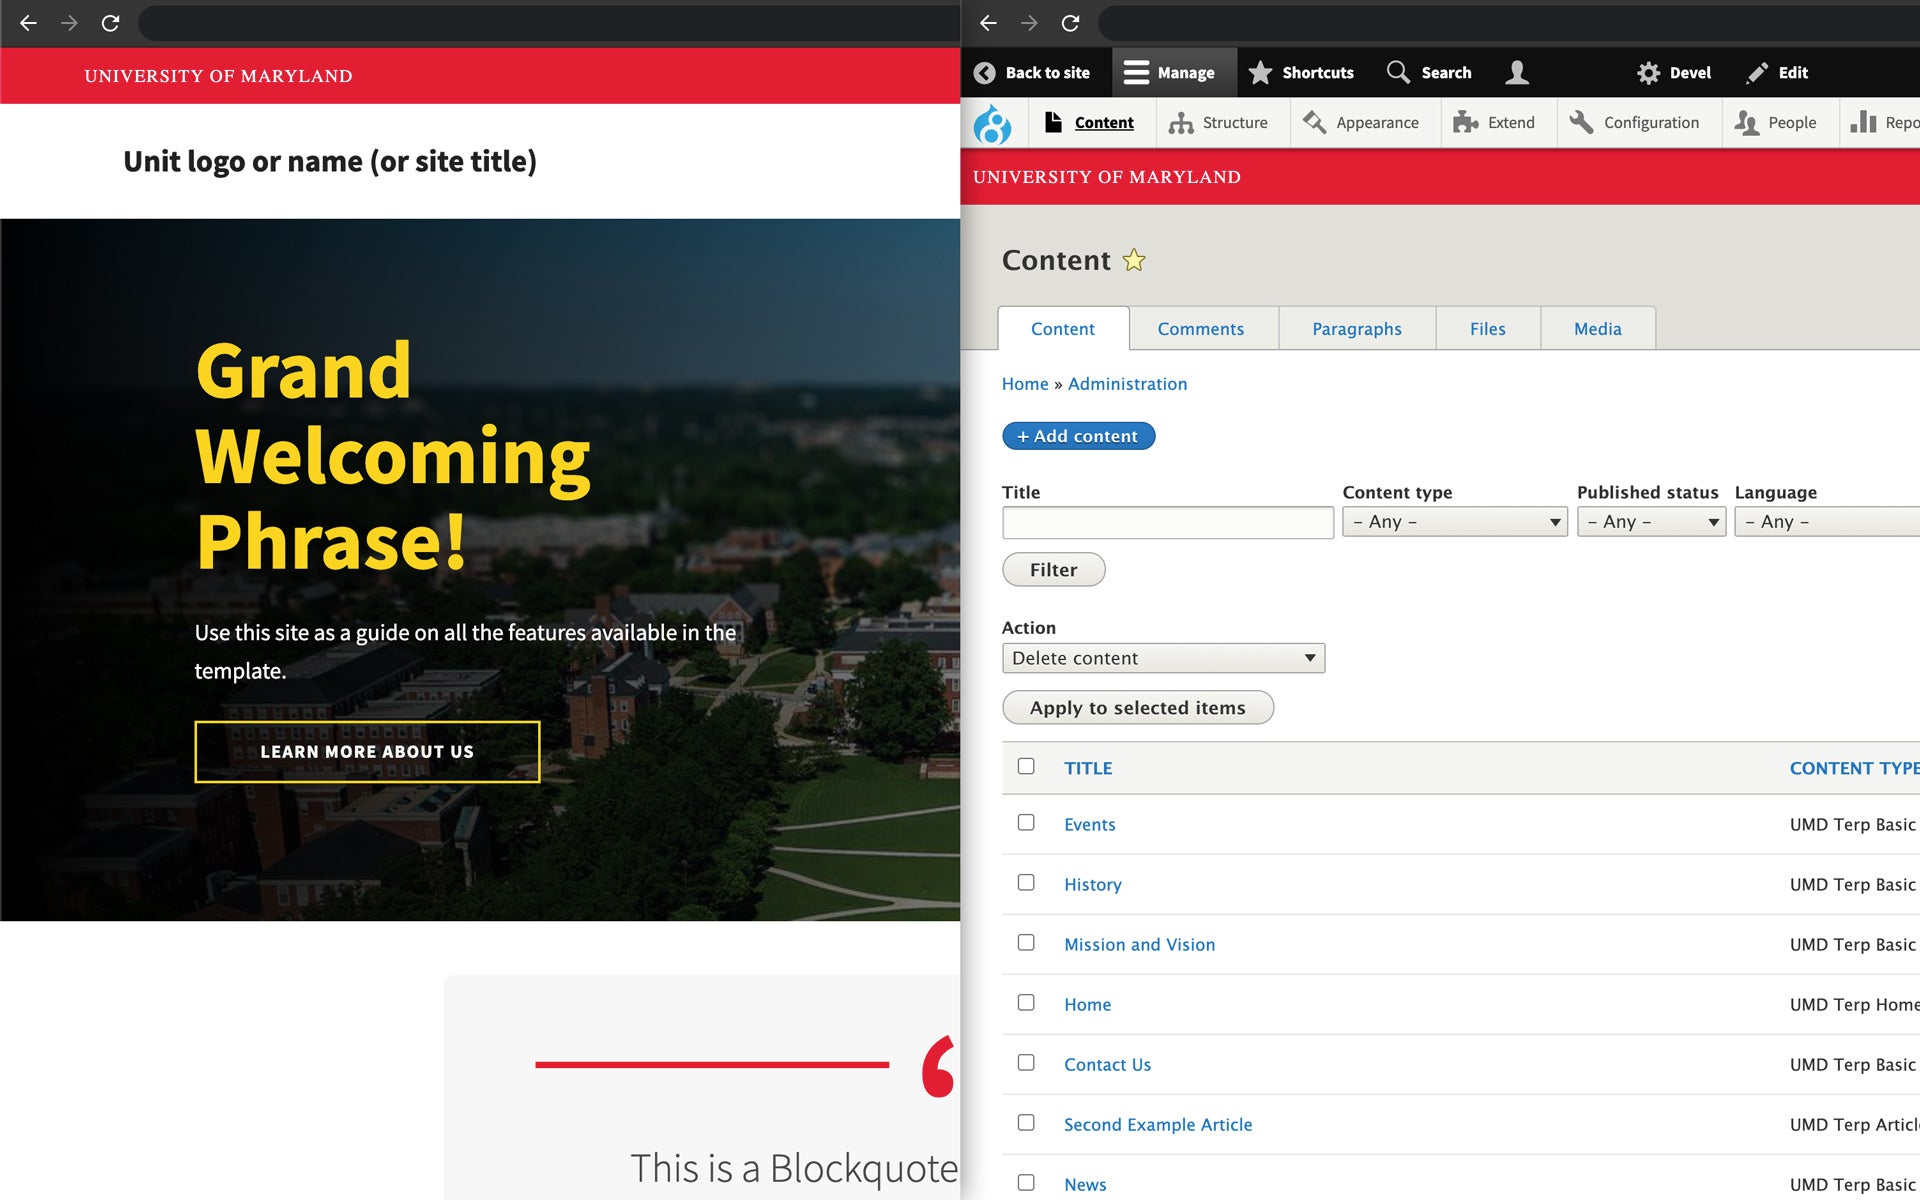
- Once you have successfully completed the CAS sign in process, you should be brought back to your site. If you have the necessary permissions, you will see a new bar of menu items at the top of your site with labels like “Manage”, “Shortcuts”, “Search”, and sometimes “Back to Site”. This is called the “Admin Toolbar”.
Congratulations, and welcome to your new Drupal site!

Users with enough permissions on the site (Admin users, and editors) will see the Admin Toolbar
Troubleshooting: Verify your university CAS credentials are correct. If possible, partner with a team member who has access to make sure a site specific user account was properly created from your CAS username. If issues persist, contact the Division of Information Technology for support.
Welcome to your new Drupal site!
You have successfully logged into your new Drupal site. Take some time to explore what it has to offer. Whether you are the site owner, one of a few administrators, a content manager, or an editor, most of your time will be spent in various sections of the “Manage” tab on the Admin Toolbar. They are described in the table below.

| Toolbar Tab Title | Description |
|---|---|
| Content | Lists and manages existing content, and allows creation of new content, including new pages using the 4 layouts provided by the templates. Learn more about Content types |
| Structure | There is a lot here, but our focus is on menus, taxonomy, views. |
| Appearance | Find various customization options available in the UMD Terp Templates. |
| Configuration | Like the Structures tab, there is a lot here, our focus is on Basic Site Settings in “System”, and Metatag settings in “Search and Metadata” |
| People | Add users to your site, manage roles assigned to those users, and set permissions for each role. |
Customize your site
Customize site settings
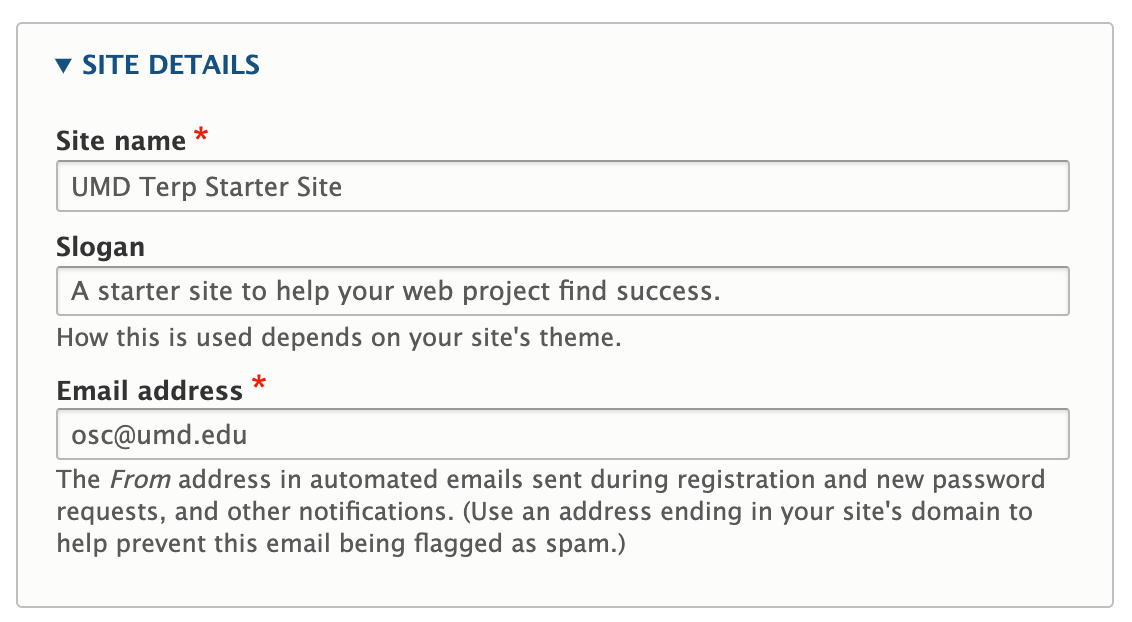
Your site has some basic settings that should be customized to your needs. Follow the guidelines for accessing Basic Site Settings, and customize the following fields:
- Site Name: Use the guideline instructions to set a Site Name that will appear in the site’s menu bar, and as the title in search results.
- Slogan: Fill in the slogan for it to appear along with the site name in search results, and when shared on social media.
Email Address: Since the university uses CAS for authentication, the templates don’t use much of the drupal functionality for automated emails. It’s still good practice to set a relevant email address here.
Basic Site settings administrator panel
Front and Error Pages: You do not need to change these fields. Unless you plan to completely replace them, the front page, and 2 Error page fields have been set up for you as part of OSC’s and DIT’s setup process.
Customize the Theme’s Appearance Settings
Along with the basic site settings are also some important theme settings that should be customized. Follow the guidelines for accessing the Theme’s Appearance Settings, and customize the following items.
- Logo Image: If your School, Department, Office, or Unit has a university approved logo, you can add it here. If you do not provide a logo, the Site Name you set in the “Basic Site Settings” will be displayed in the menu bar.

The Logo replaces the site's name, and appears on the left side of the main navigation. - Approved Logos: Logos must conform to the University’s brand standards. Learn more on the UMD brand site
- Use .gif, .svg or .png: While various file formats are supported by Drupal, OSC recommends using either a gif, svg or a png file type. These file formats support transparency and will integrate best with the color of the site’s menu bar.
- Header Settings: Match the Office of the President’s use of the light theme for the header of their site, or copy the UMD Drupal Template Demo site’s dark header theme.
- Footer Settings:

Screenshot of the UMD Drupal Template footer with example content - Footer Logo: The Logo in the footer can be updated to the same one used in the header in the same manner, and the same standards of compliance with brand standards apply. On your new site, it is set to the University logo by default.
- Contact Information: The address, phone and email address fields are all public facing. Add in relevant information about your school, department, or unit.
- Use commas (,) to separate each section of the street address.
- Use regular dashes (-) in between sections of a phone number to conform to accessibility best practices.
- Leaving a field blank will remove it from the footer, so you are not required to fill out every field.
- Social Media Accounts: The templates support the display of up to 4 social media icons in the footer; Twitter, Facebook, Youtube, and Instagram. They have been pre-filled with the University’s main profiles and channels. These can be changed to your department, unit, or office accounts.
- Admin Settings:
- Disable dark mode options: Some of the content that can be added to a page supports a “dark mode” option (a dark background with lighter text), and is similar to choosing light or dark mode for the header. Setting this option requires all widgets with a dark mode option be set to light mode instead (light background with darker text).
- Right hand sidebar: While the templates have the main navigation bar across the top of the site, below the red University of Maryland banner, internal pages will also include a sidebar for sub menu items. Here you can decide if that sidebar of links appears on the right-hand side of each page, or by default, on the left side.
Update Global Metatags (SEO)
For social media, and search engines, meta tags provide information like specific titles, and descriptions, as well as a preferred image when they are shared to those platforms. You see this often on Facebook or Twitter where a copy/pasted URL will be replaced with a card displaying the provided meta tag content. Drupal sites allow you to customize what content will appear in these cards and on supported search engines when. Follow the guidelines for accessing the sites Metatags.
Only update the “image” metatag
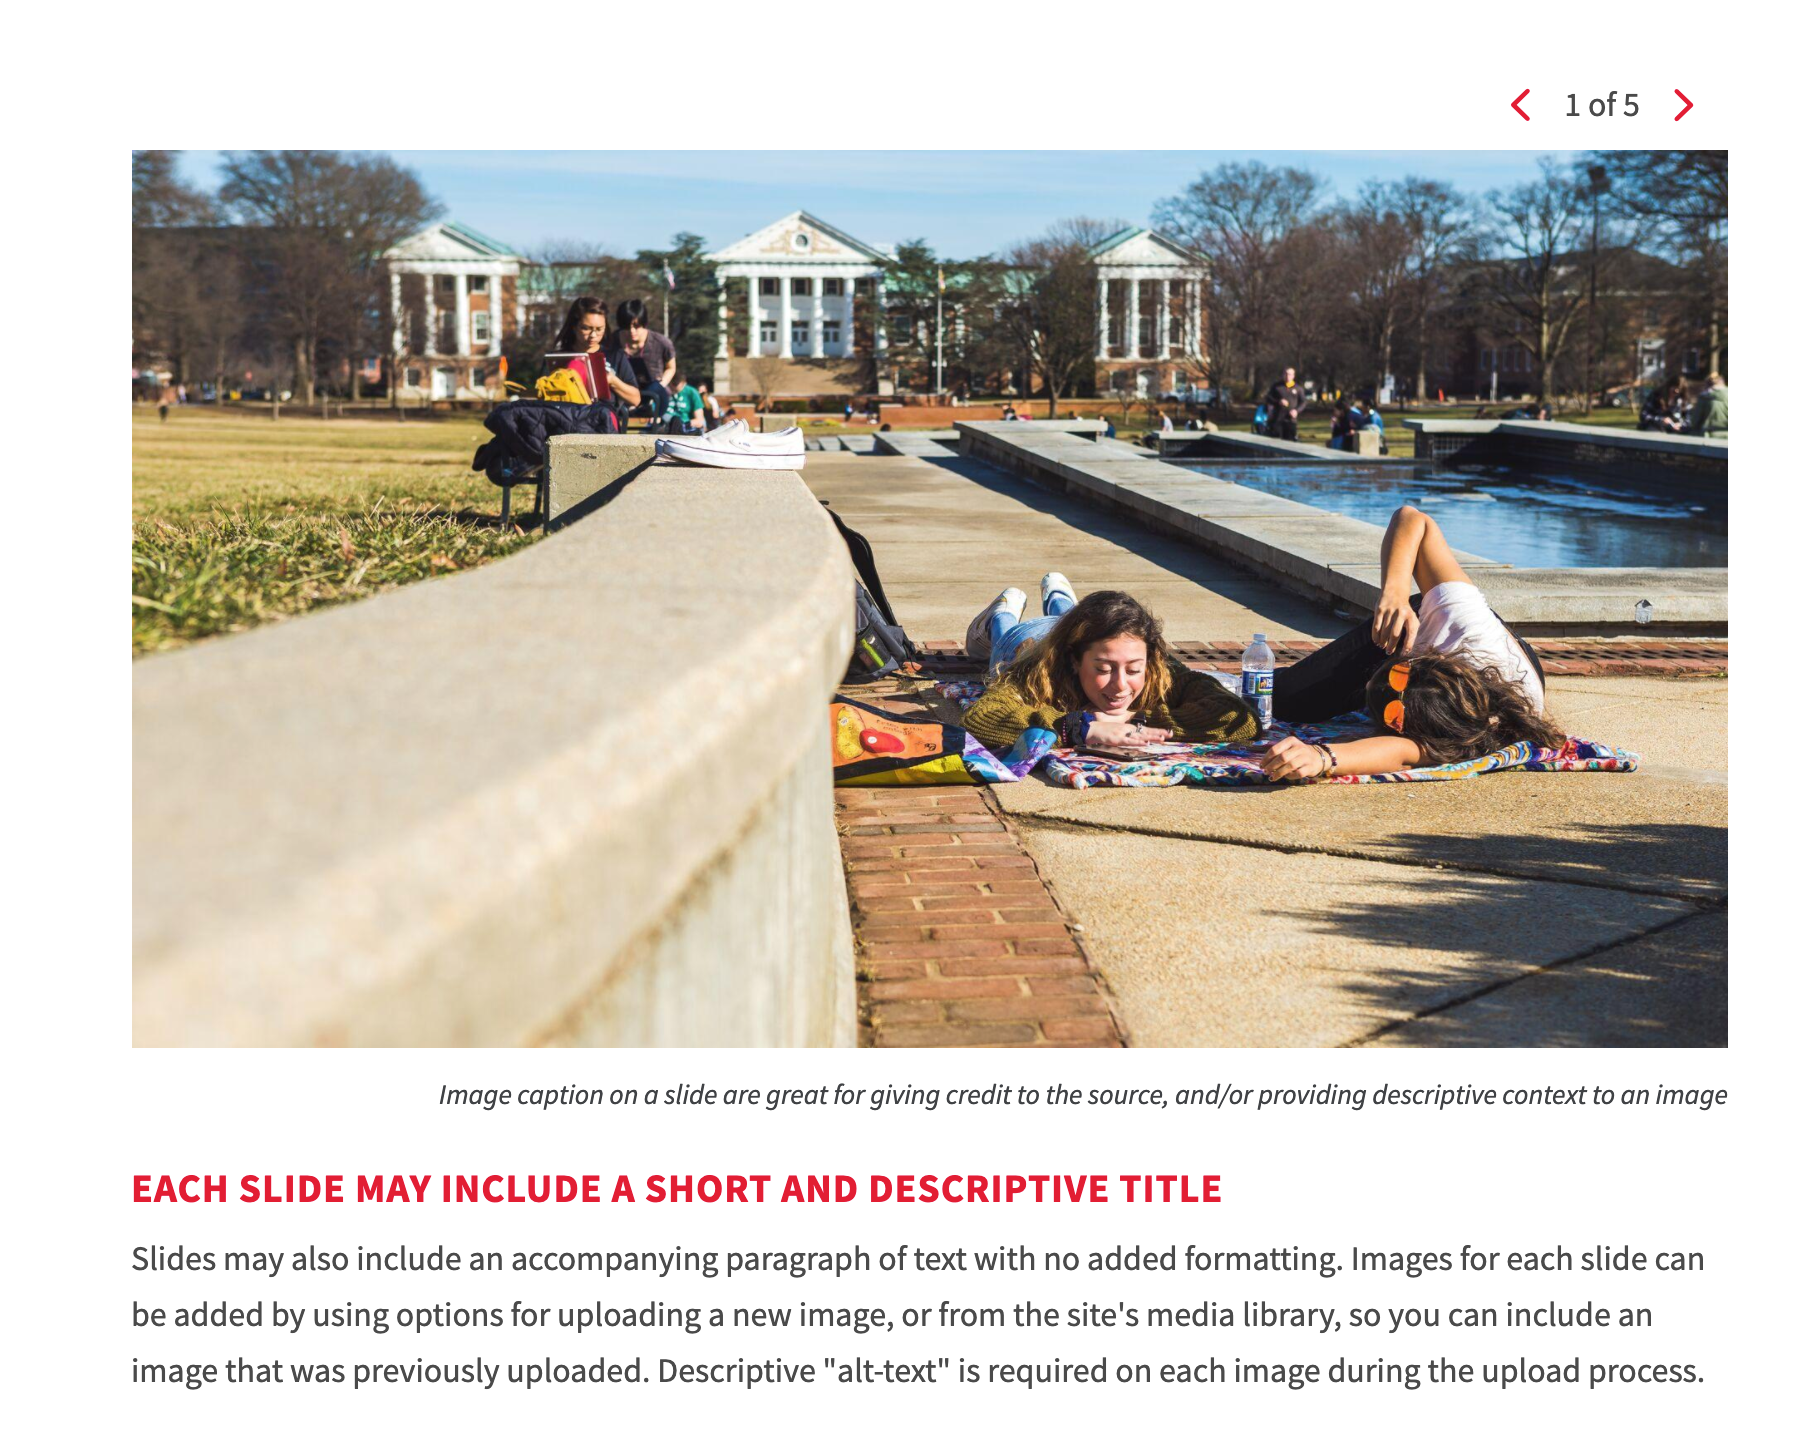
Unless you are familiar with the “Open Graph” standard for website meta tags, it is not recommended to change any of the content in this section, except for, if you want to, the image tag. The important ones like a Site name, page url, and description, have already been set when you updated the fields found in the Basic Site Settings area of your site. Learn more about "Basic Site Settings". The only field you might want to update is the image field. The default image used for all starter sites is of students walking along ODK fountain of McKeldin Mall.
Update the image metatag
- Follow the guidelines for uploading a new image to your site.
- Upload a new image to your site
- Number of images: One (1) image file at a time.
- Image file size: 256 MB limit per image file.
- Supported image formats: png, gif, jpg, or jpeg.
- Image Dimensions: 1200 pixels wide by 630 pixels tall.
- Once the Image is uploaded, click the link of the image to open it in a new window.

Once an Image is uploaded, click the link to open it in a new window. - In this new window, locate the address bar at the top, and copy the portion of the URL (Web address) after “[site-name].umd.edu”. Example: if the url is: “mysite.umd.edu/link/to/image.jpg”, copy the “/link/to/image.jpg” part, including the leading slash (/), and the file format at the end (.png, .gif, .jpg, or .jpeg).

Select and copy the portion of the url after "umd.edu", including the leading slash (/). - Once the image’s URL is copied, follow the guidelines for editing global metatags.
- Locate the “Image” field under the Open Graph section.
- Do not edit the "Basic Tags" or "Advanced" sections of this page).
- Ignore the other image related fields like "Image url", "Image Secure URL" or "Image Type" unless you are familiar with them.
- Replace the contents of the "Image" field in this Open Graph section, with the portion of the url of the new image you’ve uploaded in step 2.
Add/update Taxonomy
Drupal’s User guide States: Taxonomy terms are used to classify content, such as a tag or a category. Section 6.5, “Concept: Taxonomy” provides more information on Taxonomy
Let us start by adding Taxonomy terms you can use on Articles published to the site.
- Follow the guidelines for accessing Taxonomy Settings
- Click on the “List Terms” Button at the end of the row for “Categories”.
- Your new site comes pre-configured with four(4) terms you can use, leave or delete as you want.
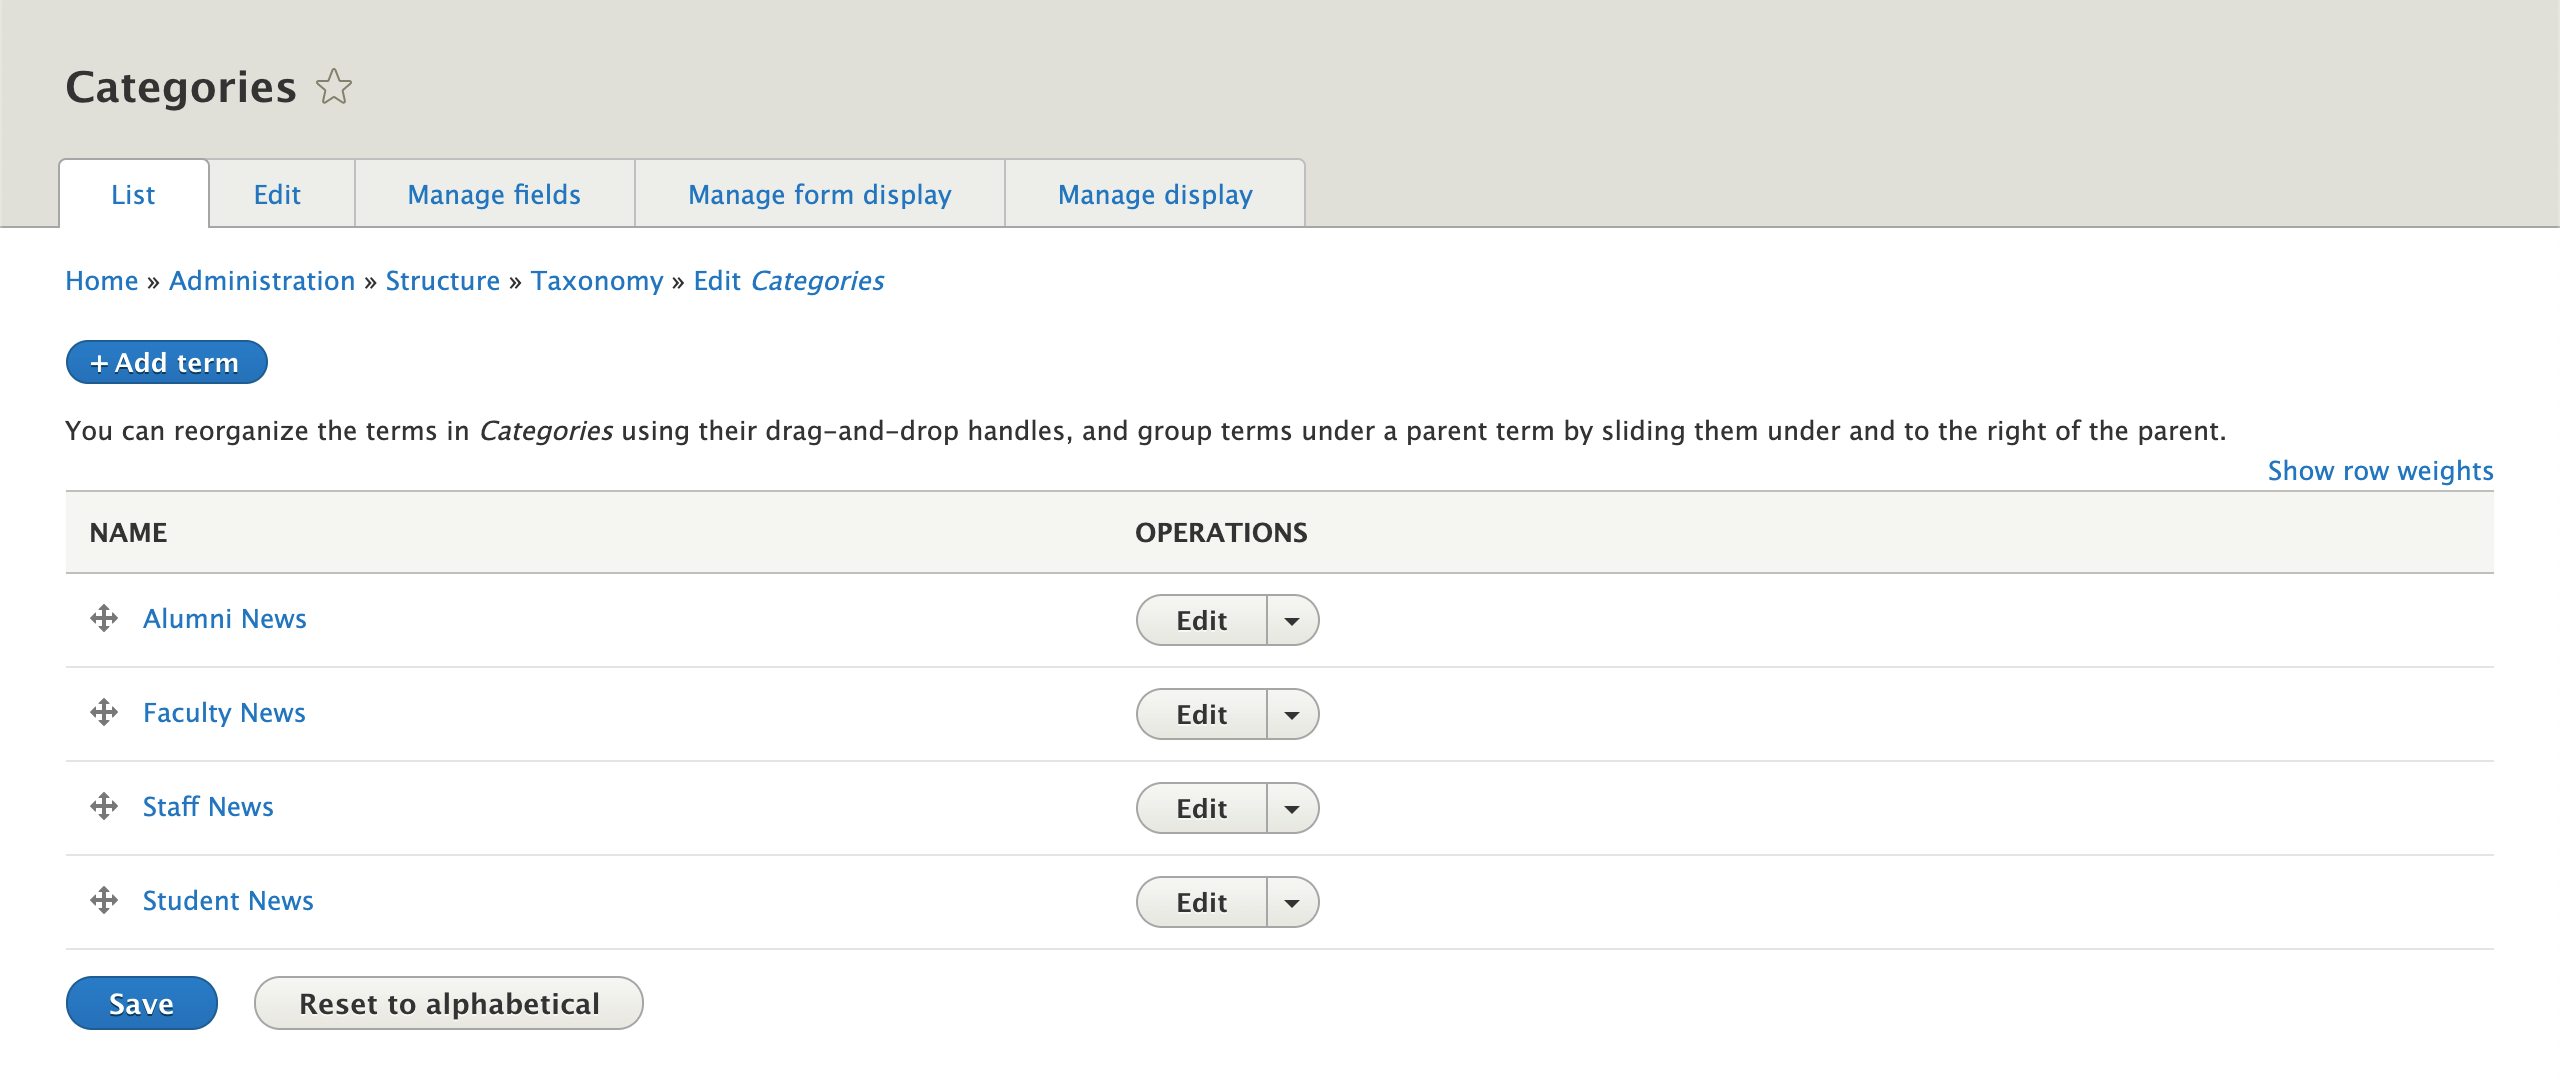
Screenshot of the Admin settings panel for Taxonomy terms under "Category" - Follow the guidelines for adding a new Taxonomy term to Categories. Make this new term something relevant to your school, department, or unit. If you’re comfortable doing it once, add a few more to get started.
- (ie: Donors, Newsletters or Press Releases, Research, Community, Giving Tuesday, Maryland Day, etc)
- As long as the terms you use make sense to you, your team, and importantly, your audience, there isn’t a wrong way to categorize your content.
Roles, and Permissions
Unless you plan to make drastic changes to your site, there is no need to change roles or permissions settings for your Drupal site. They are described below so you can familiarize yourself with them and their importance.
Roles
“Roles are a named set of permissions that can be applied to a user account.” Your new drupal site has been pre-configured with 4 roles, each with their own purpose. Unless you plan to make drastic changes to your site there is no need to update or change these roles.
| Role Title | Default role | Role Description |
|---|---|---|
| Anonymous | Yes | Anyone who is not logged-in to the site is considered an anonymous user. This role has few to no permissions on your site. This is a default role that comes with Drupal. |
| Authenticated | Yes | The very next level up from Anonymous users are Authenticated users. Authenticated users on sites using the UMD Drupal Templates, functionally have the same permissions anonymous users have (eg: no permissions). This is a default role that comes with Drupal. |
| Editor | Custom | A custom Role created by the Office of Strategic Communications for the University's benefit. This role can create, edit and delete content from a site, but has limited access to other areas reserved for those with the administrator role. |
| Administrator | Yes | The Administrator role is usually considered the highest role on a site and has every permission, including deleting and editing content created by any other user on the site as well as editing very important site settings. This is a default role that comes with Drupal. |
Permissions
This list of available permissions is extensive. Their purpose can range from very broad and simple, to the very granular and very complex.
Editor role
The Editor role was designed for various content managers or creators on your site who do not need or shouldn’t have the extensive privileges granted to administrators. Users who are granted the Editor role can create, edit, and delete any publishable content on a site made with the UMD Terp Templates, but are not allowed to create new users or change global site settings.
Adding Users
The User account provides an individual with an identity to the site, and when assigned roles (like Administrator), allows those individuals to add or edit content, make changes, or any number of the activities described in this documentation.
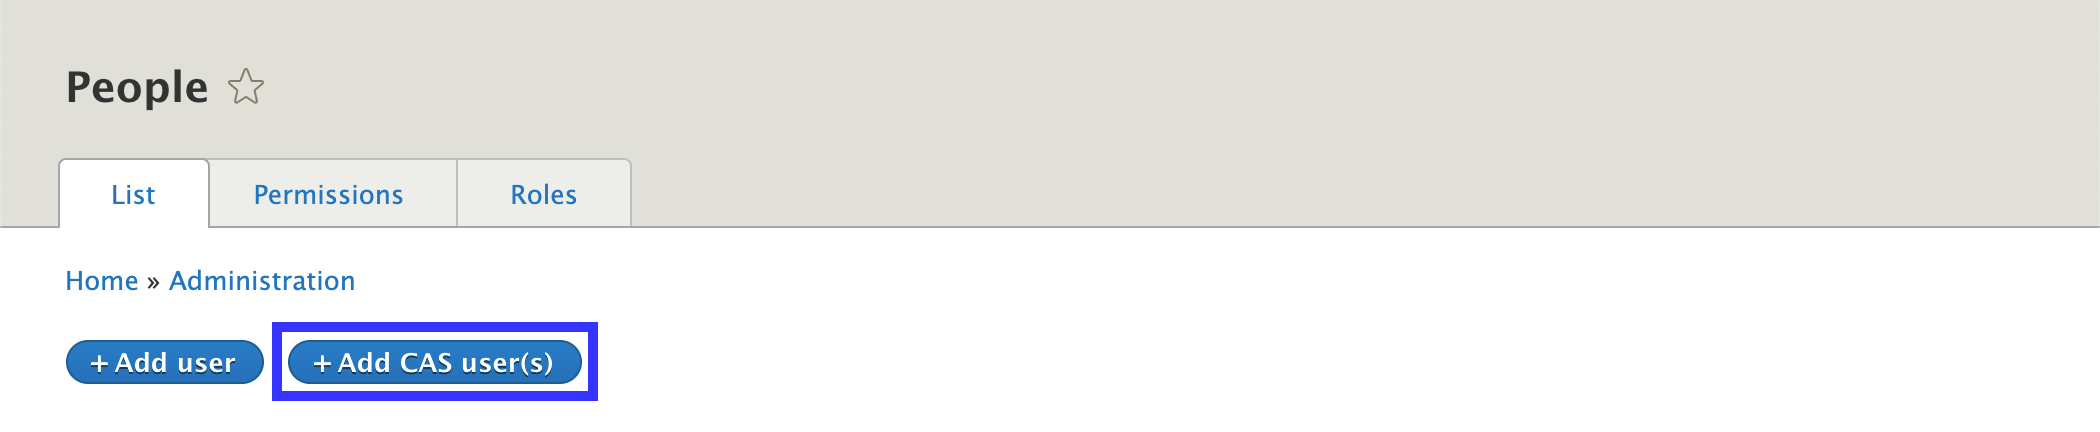
Only add users via CAS
When adding new user accounts to a site, it is strongly recommended to create their account using the Add New CAS User(s) instructions. Creating accounts via CAS is more secure, and helps verify that an individual with access is affiliated with the university. It’s also easier as it will automatically fill in any necessary information, and users will not have to recall yet another set of username/passwords.
Adding/Editing Content
Starter Site Pages and Content
Your new site comes with a few pre-configured pages to help you get started. You should replace the content on each page with your own, or delete them entirely (except for the home, 404, 403 pages), and start from scratch.
Follow the guidelines for accessing existing content to view all the pages that have been created on the starter site.
Except where indicated, all of the preconfigured pages on your new site should be edited to use your own content or even deleted entirely, and replaced with your own pages.
| Page Title | Layout Type | Description |
|---|---|---|
| Home | Homepage | The landing page of your site. Similar to the Drupal Demo Site, this page has a number of widgets that you can use or replace entirely. Do not delete this page itself, unless you are familiar with drupal development and plan to replace it. Instead, replace the content on it. |
| About | Basic Page | A preset page with filler content you can replace or delete, and 3 sub-pages (Mission and Vision, History, and Events). |
| Mission and Vision | Basic Page | A sub-page of the “About” page with filler content you can replace or delete. |
| History | Basic Page | A sub-page of the “About” page, with filler content you can replace or delete. |
| Events | Basic Page | A sub-page of the “About” page, with filler content you can replace or delete. |
| Directory | Basic Page | A preset page with a single “ People” widget to list UMD Terp Person pages for “Testudo” and “John Doe”. Learn more about Person Layout, and Learn more about the People Widget on the UMD Drupal Templates Demo site. |
| Testudo | Person | Example Person page for our beloved Testudo with filler content you should replace or delete before publishing your site. Learn more about Person Layout |
| Jane Doe | Person | Example Person page with filler content you can replace or delete before publishing your site. Learn more about Person Layout |
| News | Basic Page | A page showcasing the two(2) news related widgets offered in the templates. A News Feed of content by the university, and a feed of locally published articles from the UMD Terp Article layout. Learn more about the News Feed Widget, Learn more about the View Widget, Learn more about the UMD Terp Article Layout. |
| Example Article | Article | Example Article page with filler content you should delete or replace before publishing your site. |
| Second Example Article | Article | A second example Article page with filler content you should delete or replace before publishing your site. |
| Contact Us | Basic Page | A page with basic contact information and a Webform Widget you should delete or replace before publishing your site. Your new site comes with a simple contact form an experienced Drupal developer can configure for your needs. Learn more about the Webforms Widget on the template guidelines, and Learn more about webforms on drupal.org. |
| 404 | Page not Found | Basic Page | Do not delete this page or replace the content on it unless you are familiar with drupal development and plan to replace it. This page is what users will see if they try to visit a page or link that does not exist on your site. |
| 403 | Not Allowed | Basic Page | Do not delete this page or replace the content on it unless you are familiar with drupal development and plan to replace it. This page is what users will see if they try to access a page they do not have permission to view. |
Adding a new page and content
While your new site comes with a fair number of pages for you to customize, you may find yourself wanting to create new pages. Follow the guidelines for adding new pages, as well as guidelines for adding content (widgets) to that new page.
Exercise
Adding a new Person page, and an Article page with a Slideshow widget
This getting started guide mainly explains what you will find in your new starter site, as well as linking to relevant pages in the template guidelines. If you would like a step by step process to get you going, let us start by adding a new UMD Terp Article to your new site. There will be links to relevant guidelines for more context.
Part 1: Logging into your site
- Verify you are logged in to your site and have permission to create a new page.
- You are Logged in if: you see the admin toolbar at the top of the site (above the red university of maryland banner), it means you are logged in and have permission to add content.
- If you are not logged in: Login to your drupal site from [site’s subdomain].umd.edu/user (ie: if a site’s web address is mySite1856.umd.edu, navigate to mySite1856.umd.edu/user to login to your site). Click the “CAS Login” link near the top of the page, and follow instructions to login with your university CAS credentials. Learn more about logging into your Drupal site.
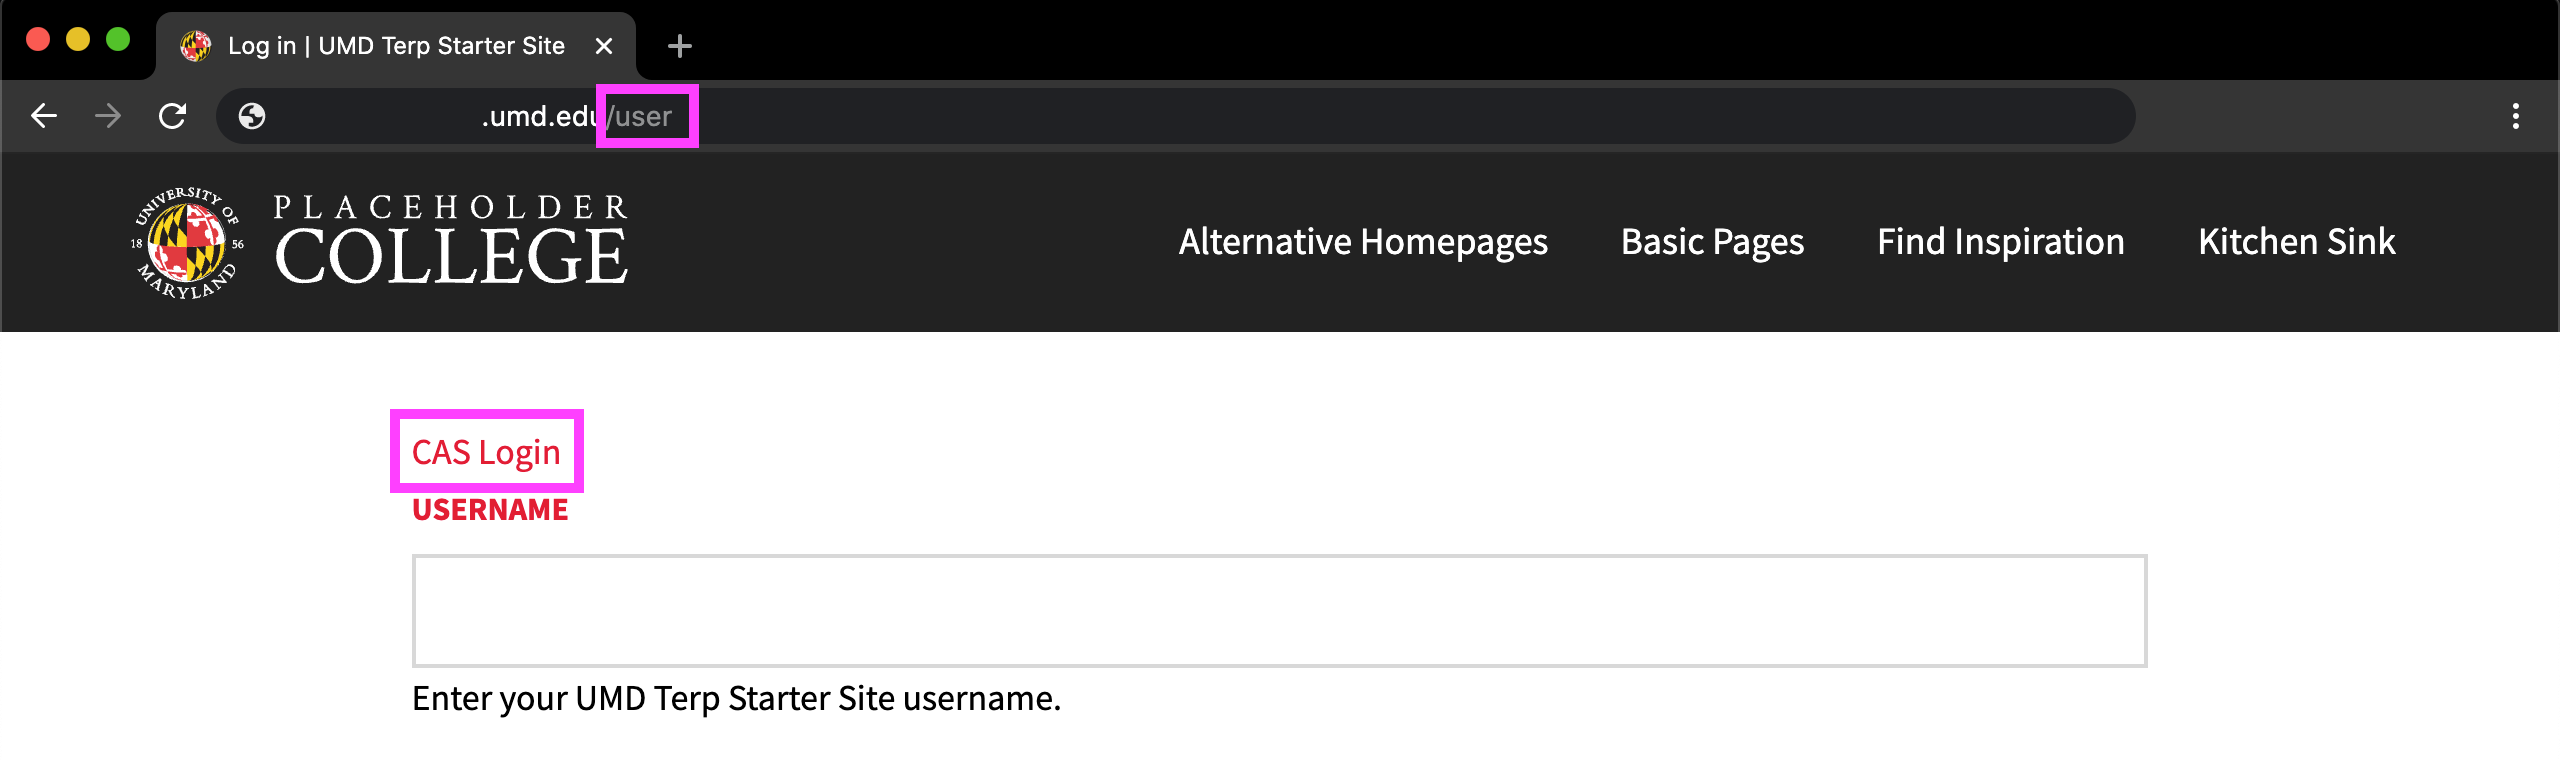
The CAS Login link may say "CAS Login" or "CAS Login - Click Here if you havea UMD Directory ID"
Part 2: Adding a new Person Page
- From the Admin Toolbar click Manage, then navigate to “Content” > “Add content” > “UMD Terp Person”
- About the UMD Terp Person: UMD Terp Person layout provides space to share or promote important information for individuals in your school, department or unit, and is useful for faculty, or staff directories.
- Filling out the available fields. Learn more about the UMD Terp person layout
- Display Name: For the purposes of this exercise, the only field you need to fill out is the display name field. Enter any public facing name you want, including your own.
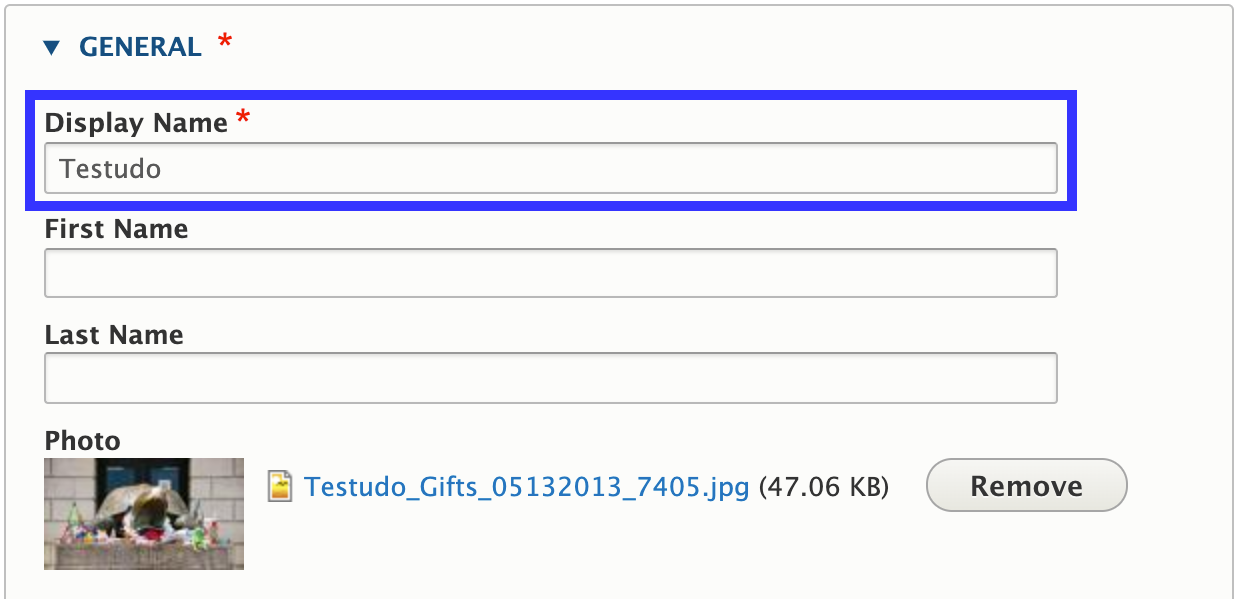
The Display name is the only required field needed to create a "UMD Terp person" page. - Review the guidelines for UMD Terp Person layout for explanations of the other available fields if you want to fill out a few more now. Again, for the purposes of this exercise, you do not need to fill them out.
- Display Name: For the purposes of this exercise, the only field you need to fill out is the display name field. Enter any public facing name you want, including your own.
- Click Save at the bottom of the page: Make sure the “published” option is checked, and click the “Save” button at the bottom of the page.
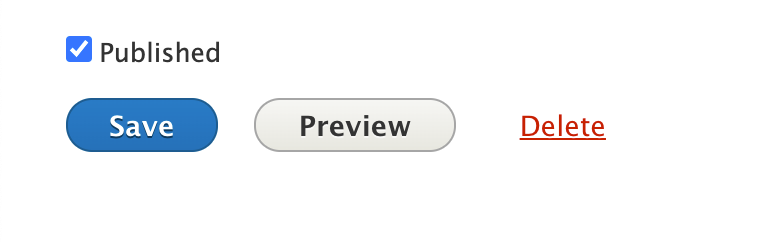
Whether it's a person, homepage, basic page or article, the save button as well as preview and delete buttons are at the bottom of the page. the option to publish or un-publish a page is also found there.
Part 3: Adding a new Article Page
- From the Admin Toolbar click Manage, then navigate to “Content” > “Add content” > “UMD Terp Article”
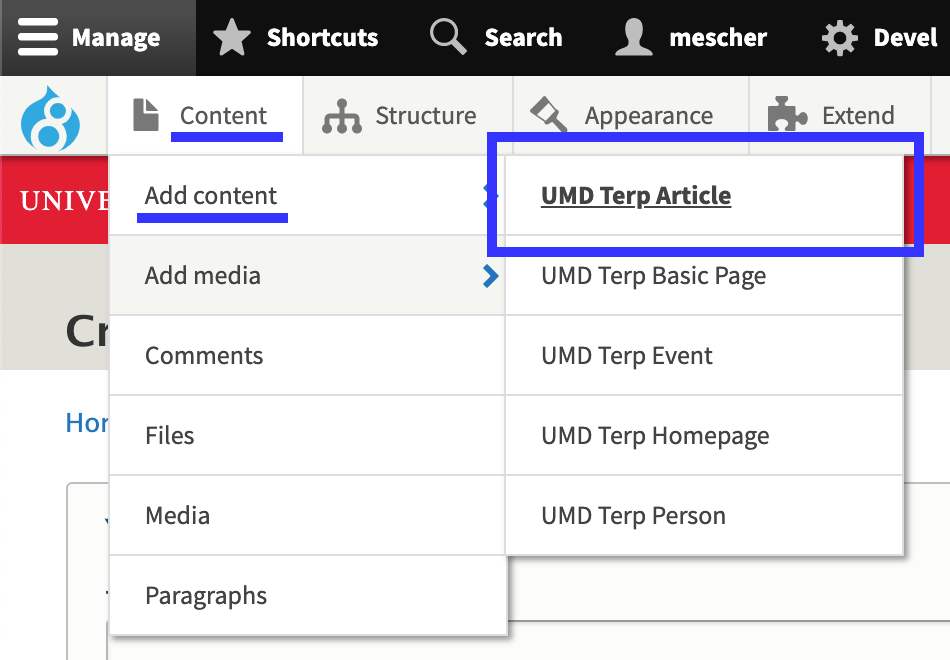
Add a new Article page right from the Admin toolbar - About the UMD Terp Article: This layout is great for any number of publications one might find on a university site like official statements, news articles, blog posts, or general updates. Published articles on University sites should follow editorial guidelines on brand.umd.edu.
- Filling out the available fields under the General tab. Learn more about the UMD Terp Article layout
- Title: Fill out any title for your new article.
- Subtitle: Fill in any subtitle that will appear under the title.
- Author: The Author field is populated by the Person pages. Begin typing the display name of the person page we created in Part 2 of this exercise. Click the name that appears under the field.

The Author Field on Article pages allow you to begin typing the desired author's name, and click on the correct one that appears underneath the field. - Image: Click the “Add Media” button to add a featured image to your article. Follow the guidelines for adding images
- Upload a new image: Click the “Choose File” button in the Add File section. Locate the image you want to upload using your computer’s file browser. Add “Alternative Text” that accurately describes the content. Click the “Save and insert” button.
- Choose an existing image: Browse the gallery of thumbnail images in the media gallery. Click the designed image to select it. Click the “Insert Selected” button to insert it into the article as the featured image.
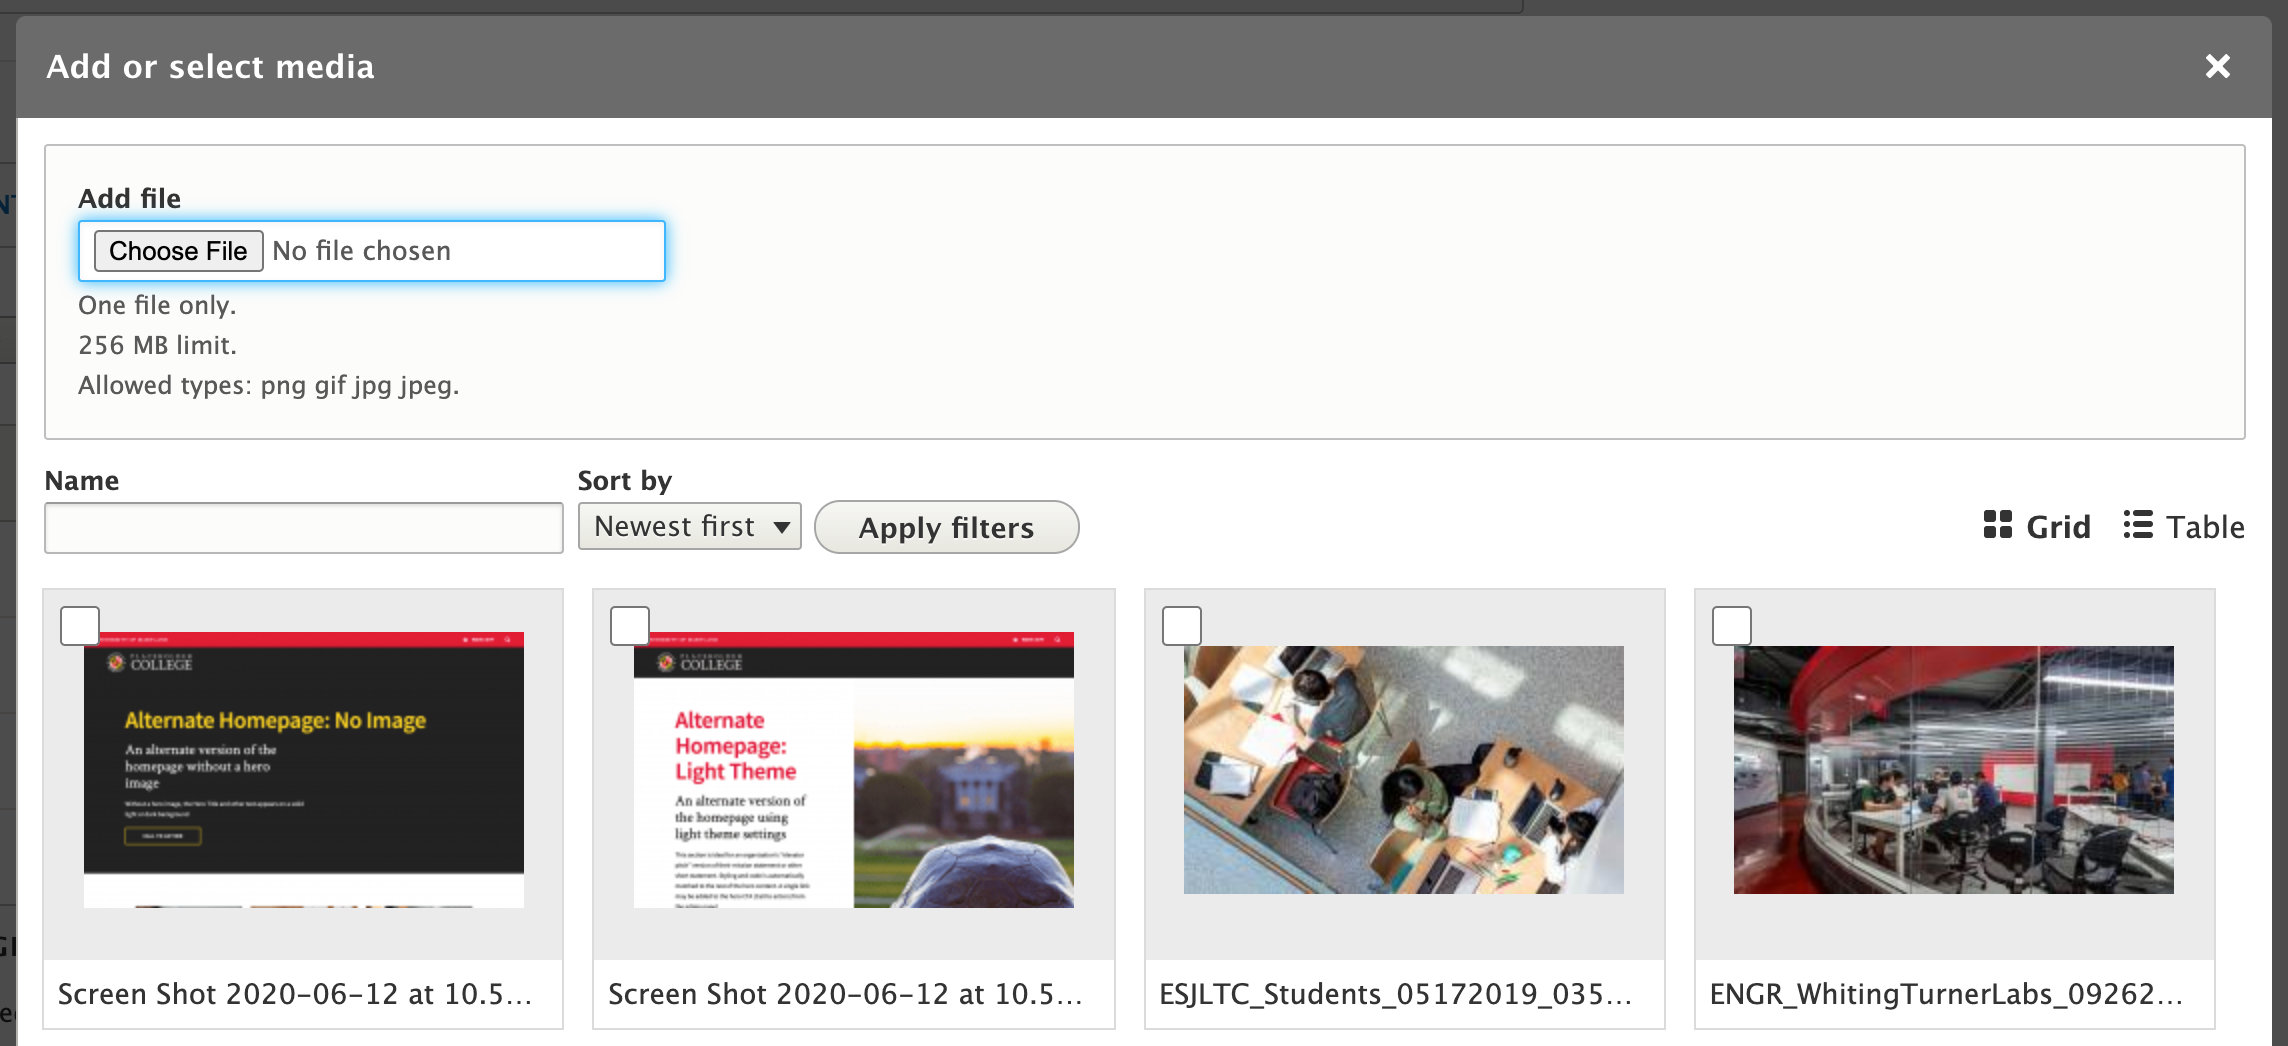
The "Add Media" button opens the media library browser popup window allowing you to upload a new image or re-use an image that was previously uploaded. Only images uploaded to the media library can be used again later.
- Caption: Add a descriptive caption to compliment your image. Convey the image’s source, attribution, or who is in the photo.
- Date: Select a publish date for your article, it can be today, in the past or the future.
- Categories: Similar to the author field, the Categories field is populated by content added elsewhere on the site. In this case it is populated by Taxonomy terms. For the purpose of this exercise we don’t need to add any new terms, but you can follow the guidelines for adding new Taxonomy terms. Learn more about Taxonomy
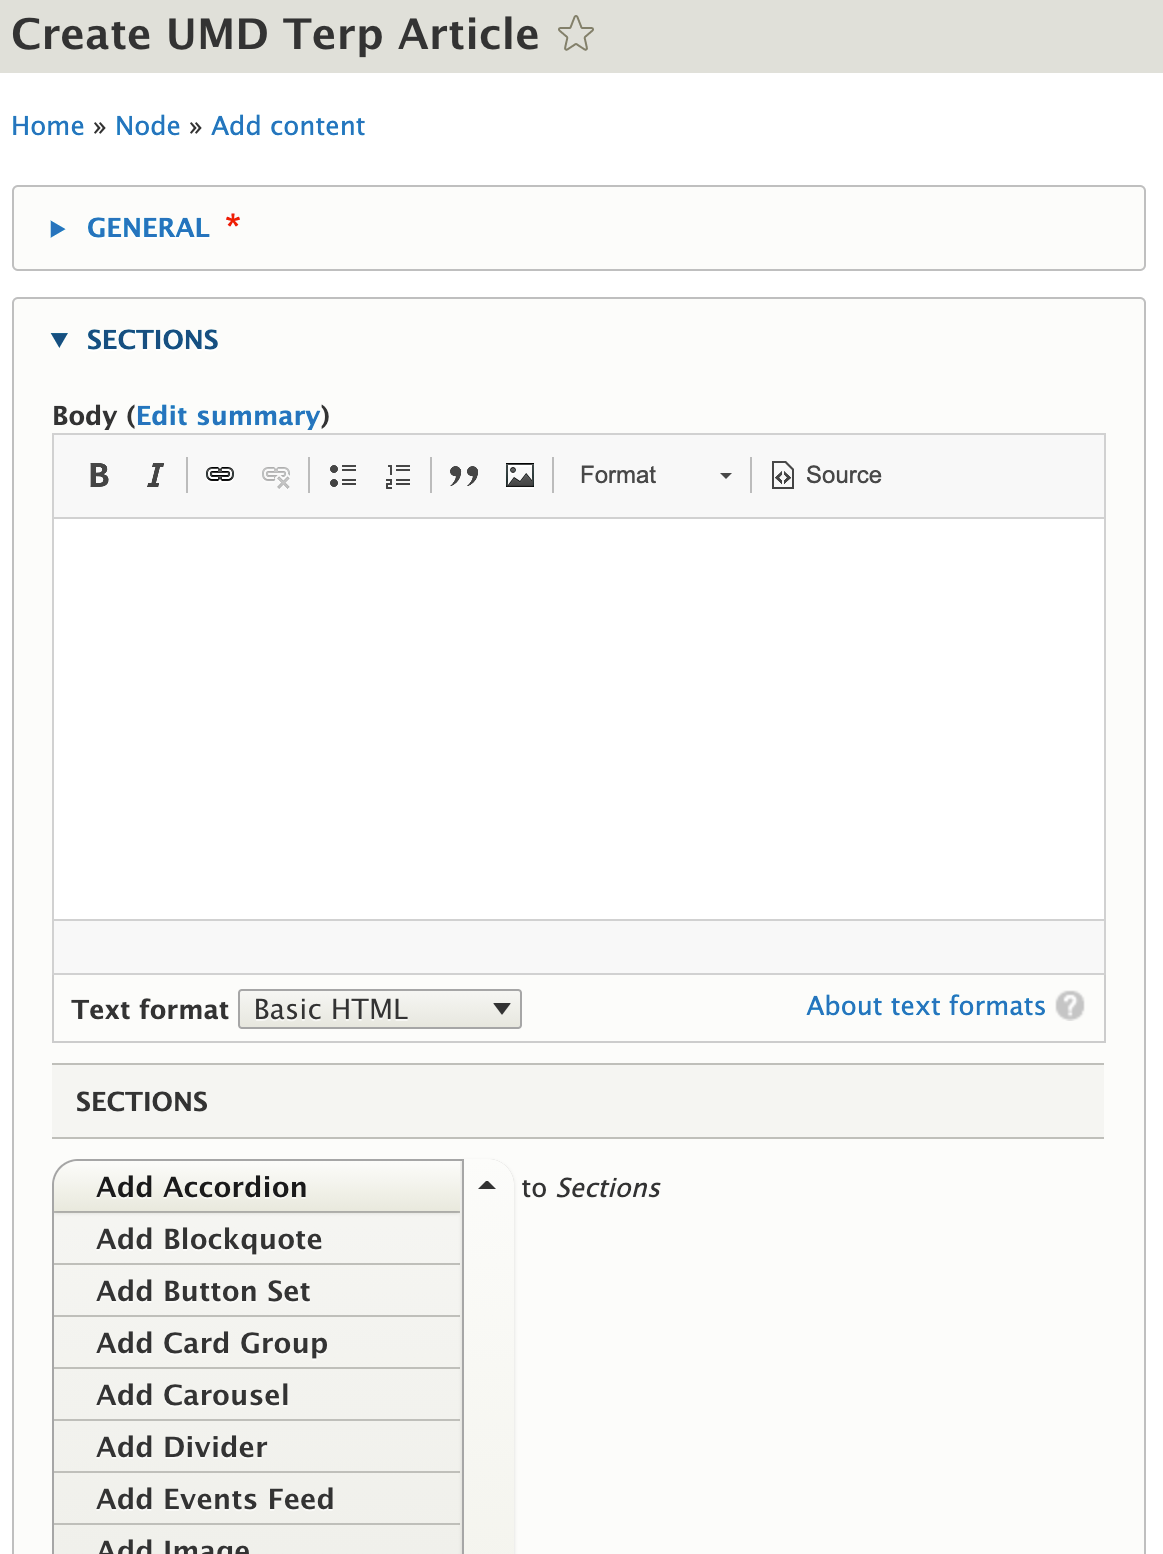
- Open the Sections tab: If it isn’t already open, open the Sections tab near the bottom of the page to reveal the body field and button for adding widgets.
- Body: Fill in the body field with any text you want, copy and paste in a newsletter or press release from your department for practice. Learn more about Formatting text in the text widget
The "Body" field supports the same rich text features as other rich text fields on Drupal.
- Body: Fill in the body field with any text you want, copy and paste in a newsletter or press release from your department for practice. Learn more about Formatting text in the text widget
- Move onto Part 4: We're not done with our new Article yet. Keep the Sections Tab open as you move onto the next part (Part 4) of this exercise.
Part 4: Add a Slideshow Widget
Learn more about the Slideshow Widget
- Add the Widget: Near the bottom of the Sections Tab of your new article, click the downward pointing triangle (▾) next to the button labeled “Add Text” or the button labeled “Add Accordion”. Locate and click the “Add Slideshow” option in the dropdown menu to add a new Slideshow Widget. Fill in the the newly created fields as follows.
- Add an Image: Click the “Add media” button, and follow the same steps to add an image to this slideshow as you did for adding an image to the article. Learn more about selecting the best image
- Slide Caption: Add a descriptive caption to compliment your image. Convey the image’s source, attribution, or who is in the photo.
- Title/Text fields: for the purposes of this exercise we can skip these fields, but if you want to fill them in, feel free to do so. They will appear as part of the slide.
- Add Slideshow Item and repeat: Near the bottom of the Slideshow widget, click the button labelled “Add Slideshow Item” to add a new slide, and repeat these steps (Steps a to d) a few more times to add more slides to your slideshow.

A number of widgets available in the UMD Drupal Templates make use of this ability to add an item including button and link sets, card groups, and carousels. Read more about them in the full guidelines.
- Click "Save" at the bottom of the page: Make sure the “published” option is checked, and click the “Save” button at the bottom of the page.

Whether it's a person, homepage, basic page or article, the save button as well as preview and delete buttons are at the bottom of the page. the option to publish or un-publish a page is also found there.
Part 5: Congratulations!
Once you press the "Save" button, the page should load to the published view of your new Article. Notice how the fields are presented, the Title is the largest piece of text, with the subtitle directly under it. The slideshow you put together should appear near the bottom of the article.
Review
You have just created a new Person page, a new Article page, and added a Slideshow widget to that Article page. At the same time, you learned how Person pages can connect to Articles, and how to upload and/or re-use previously uploaded images. If you haven’t made any other changes to your new site, you can see your new article listed on your pre-configured News page in the Locally published Articles feed.
Moving Forward
Thank you for taking the time to read and review this Getting Started guide for your new Drupal site. By the end of this guide you should be comfortable with creating a new page, and adding content to the page. You should also feel comfortable with customizing some of the basic settings of your site like the site name, and some appearance items.
For a deeper dive into these features, Review the full Template Guidelines, Browse examples of widgets on the kitchen sink, or Find inspiration from existing sites using the UMD Drupal Templates.

Template Guidelines
The UMD Terp Theme (sometimes called Drupal 8 Templates, UMD Templates or just the “Templates”) is the Drupal theme for all UMD drupal 8 based websites.

Kitchen Sink
Examples and best practices for all the widgets and features made available by the UMD Drupal Templates.
Find Inspiration
A collection of sites created using the UMD Drupal Templates.
Getting Support
Technical concerns
For Technical issues related to the site being down, not loading correctly or other hosting concerns, contact DIT's Drupal Hosting team.
Design, Branding, Content Creation and Management
If you need clarification about any of the content here consult the UMD Drupal Template guidelines for a more in-depth explanation of features. If you have any other questions, contact the DIT Drupal Team.